Setting up an inventory
There are three steps to set up an inventory that can be used for asset division: 1) Create a Property, then Rooms matching the house being inventories. Assets go into rooms that are in Properties. A room can also be named “storage building” for example, and all assets put into that room; 2) Create the asset inventory with photos, descriptive asset names, more details and related documents, categories, and values as wanted and; 3) Invite other participants as listers if you are getting help.
Participants and roles
Understanding participants and roles
The Administrator invites and assigns all roles to participants. These roles control levels of access in the FairSplit app. The Divisee role is only possible in divisions.
These roles and their corresponding permissions are:
| Role | Permissions |
|---|---|
| Sponsor | A sponsor can edit and invite participants, including administrators. Is the person who purchased the license. |
| Administrator | An administrator can invite other people into the division, set their roles, set up division rounds and make decisions about rounds. They may edit asset distribution in order to keep divisees close to their allocation percentage or sometimes with mutual requests for an asset swap at the end (They cannot edit Round results, so those will always be available by all parties). They may be, and often are a divisee as well, but should have the trust of all divisees, because they do have the edit capability and see divisee interest from the AR round, which can be considered advantageous in later rounds. Sometimes a family may elect to have an independent third party serve as Administrator. |
| Divisee | A divisee is a beneficiary of the division. She/he is entitled to a percentage of all the assets, called "allocation percentage". In each division round, a portion of the assets gets distributed to divisees through round selections and formula. Rounds may not be created until two or more divisees are registered. The Divisee role is not an option in the Free Inventory, only in Divisions. |
| Valuator | A valuator, whether he/she is a professional appraiser or not, can set estimated prices/values for assets. |
| Asset lister | An asset lister can view and edit the inventory. He/she can add photos, assets and descriptions of items, categorize them, etc. Some families have a couple of people assigned this role so they can assist in getting things listed faster. |
| Division observer | A division observer cannot change anything but can view inventory and division rounds. Sometimes this is a mediator, probate or estate attorney. |
| Inventory observer | An inventory observer cannot change anything and cannot see participants, division rounds, reports or the overview. She can only see properties, rooms and assets. Often used to invite estate sales agent or moving company to view what is to be sold, moved or donated. |
Participants can have more than one role, for example, John B. can be both Divisee and Asset Lister. The most common division will have an Administrator that often serves as the Asset Lister and sometimes may also be a Divisee. Sometimes a third party may be asked to value the assets and may be given roles of Lister and Valuator. The Administrator may also change participant roles later; for example, a Lister role may be given a Divisee to help with the tasks of creating the asset list, then that lister role may be removed after completion. If Divisees are not helping create the asset inventory, Administrators usually will not invite them until after the photographs have been added to rooms, associated with assets as needed, and assets have been listed.
Needed participants and role descriptions
The type and complexity of division you are doing will determine the number of participants needed.
An inventory only use of FairSplit with no division of assets planned needs at least one participant. If only one participant, that person will be both Sponsor and Administrator.
There are many combinations of participants to create the Inventory. Below are three:
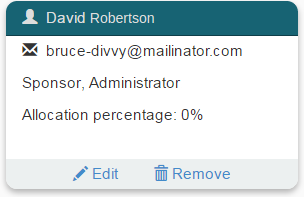
1 - One user with the roles of Sponsor and Administrator.
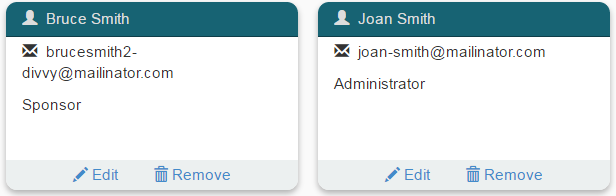
2 - Two users: Bruce as Sponsor and Joan as Administrator.
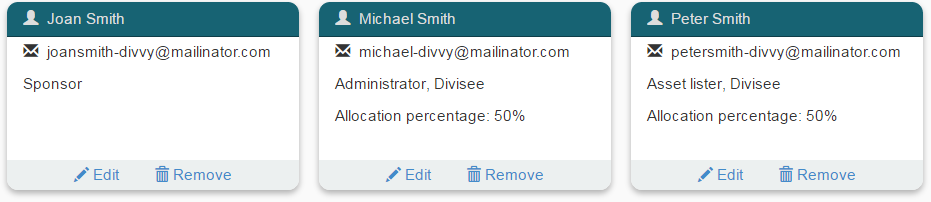
3 - Three users: Joan as Sponsor and Administrator, Michael as Valuator and Peter as Valuator and Asset Lister. This would represent a collaborative effort to get all assets listed and valued.

A division needs at least two participants. Each will be a Divisee. In the case of an inventory only, you need a Sponsor and an Administrator.
Here are three examples of valid setups for divisions.
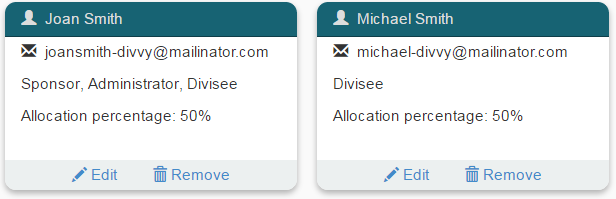
1 – A two (2) participants division: Joan with the roles of Sponsor, Administrator and Divisee and Michael with the role of Divisee.
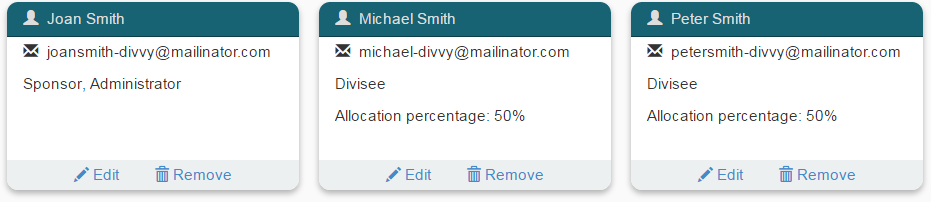
2 - A three participants division: Joan with the roles of Sponsor and Administrator, Michael with the role of Divisee and Peter with the role of Divisee.
3 – Another three participants division: Joan with the role of Sponsor, Michael with the roles of Administrator and Divisee and Peter with the roles of Asset Lister and Divisee.
All three of the above examples allow at least one user to:
- Create and edit the inventory
- Set estimated values of assets
- Set up division rounds
- Have access to asset distribution editing in case participants want to balance fair market values to be closer to allocation percentages or exchange assets.
- Set distribution to other areas like sell, donate, stays, etc.
The last three tasks can only be done by an Administrator role.
Invite participants
If more than one person will be using the FairSplit app, the Sponsor or Administrator will invite others to join. To invite someone:
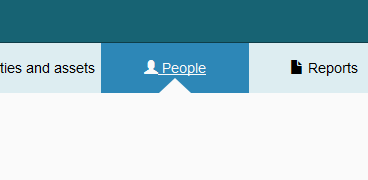
1 - Go to the people page by clicking on “People” in the menu at the top of the screen.
2 - Click on “Invite someone”.

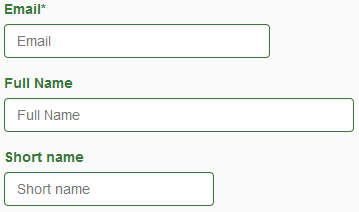
3 - Complete a simple invitation form with the participant’s e-mail and name.
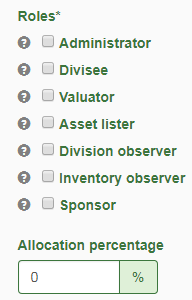
4 - Next, define the participant’s role (see previous section for more details). Check the participant’s role(s). If the participant is a divisee (division beneficiary) you also need to set assign the allocation percentage field with the percentage entitled that the participant has in the division. For example, John B. is a devisee with 60% allocation.
(Note: If two or more tiers of a family are being included - like step kids, grandkids, etc. – One may decide to divide those assets after an initial division has been completed, inviting that next tier with the percentages will begin again on the remaining items and those Divisees newly invited to the next tier of dividing. If you want to provide access to the second tier throughout, begin with them only set as division observers)
5 - Personal messages may be added to the invitation email. Use it to explain what's going on, and why they're getting this email in your own words.
6 – If you have family, or others helping to list the assets, assign more than one Lister, and divide the tasks of listing. Any roles may be edited by the Administrator at any time, so one can remove Lister later, and keep only as a Divisee, or add a Valuator to help value assets, then remove that role after values are set.
7 – The Administrator is the key controller of the division. They are often a divisee as well, but the role is one that full trust of all other divisees is critical. Some families choose an independent third party or other trusted individual for this key role.
8 – Finally, check if all the information is correct and send the invitation by clicking on the “Invite” button.

A message will be displayed saying the participant has been invited.
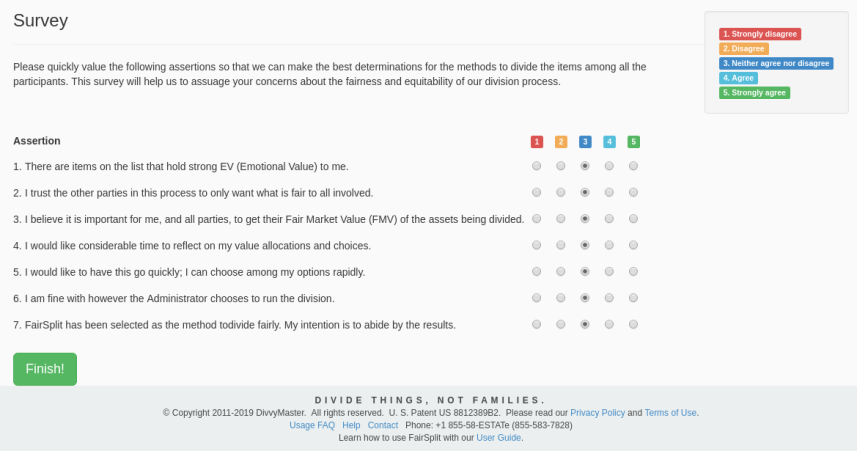
Divisees survey
When joining a division, a divisee is prompted to answer a short survey. The answers help the division administrator set the tone of the division process.
We want to have an understanding of the concerns and goals of each divisee. Our software is set up to provide tools best suited to keeping all parties confident in the system, knowing that their wishes are being honored and valued equally with those of the Administrator and other participants.
Set up properties
There are several ways to set up a division or inventory. All start with a property, that has rooms, the rooms then have assets that have categories, and photos assigned to rooms, that may further be associated with one or more asset. If working from a storage building or single large room, that is fine; just label in the best way that works for you.
TIP: FairSplit allows you to create “properties”.
You can upload a spreadsheet or use FairSplit’s online tools within the application. If you already have a home inventory spreadsheet, you can upload that and not lose your earlier work. SEE Help area for spreadsheet upload instruction.
Properties and rooms
Once the Administrator has been assigned and logs in, FairSplit will automatically create a property titled, “Property 1”. We suggest you rename/edit it to something more descriptive. In the following example we will rename it, “Big house”.
How to rename a property
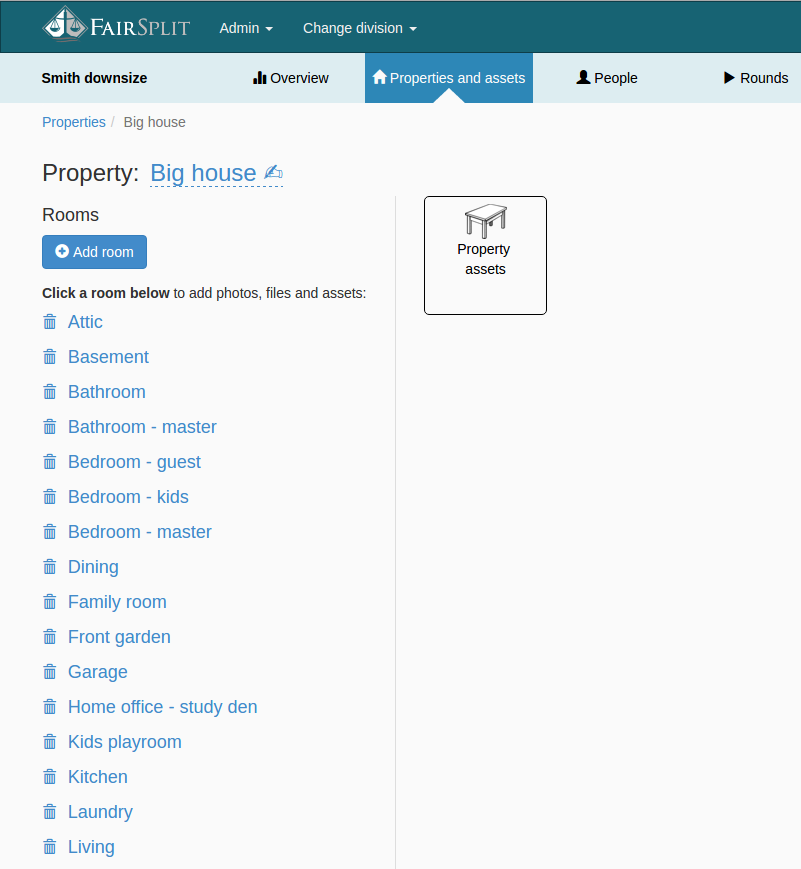
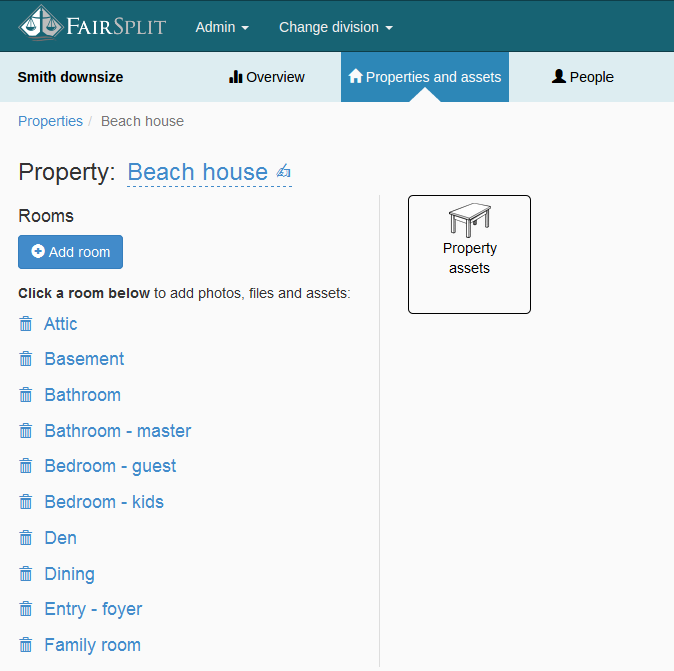
Click Properties and assets on the menu to go to the Properties page: 
Here we can see all the properties contained in this "Smith downsize" example division.
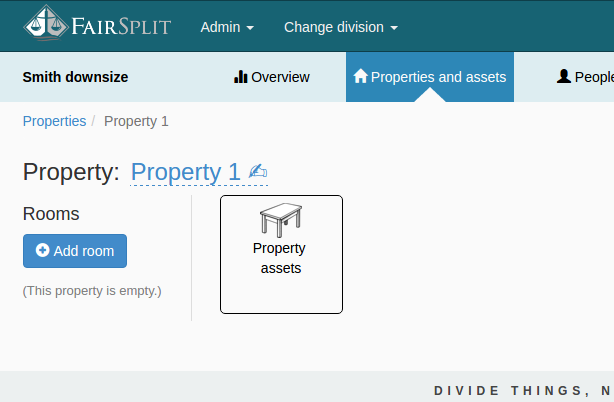
Click “Property 1” to enter it:

On the individual property page, the name “Property 1” is editable. You know this because it is blue, underlined with dotted lines, and followed by a writing hand icon: 
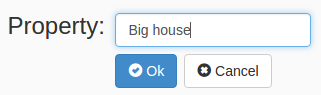
Click on the current property name (“Property 1”) to start editing it:
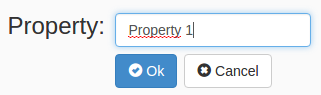
Replace the name – in our example “Big house” – and click the Ok button.
The property is renamed. Our next step is to add rooms to it. (This assumes the assets are still in place in the Property; if the assets are in storage you may wish to create room names that help organize in other ways, possibly naming rooms categories as a way to separate in logical ways.)

How to add rooms
To add rooms, from the property page, click the Add room button:
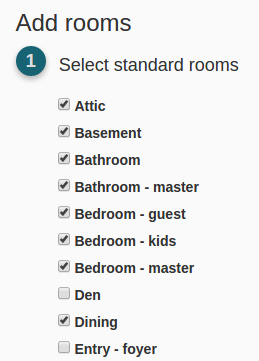
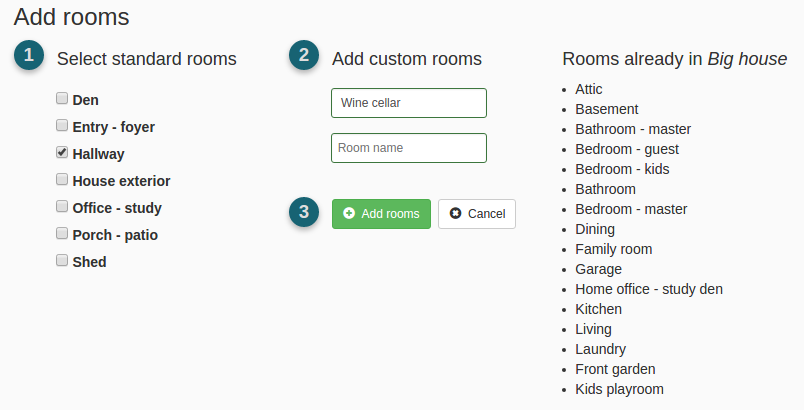
A page is displayed with three columns. The left column contains pre-named rooms; the middle column has a field to add a custom room name; and the right column shows the rooms already existing in the property (this might be empty).
In the first column, select the rooms to be included in inventory. If desired, you can edit these names later. For example, “Bedroom - kids” can be renamed, “Joey’s room”.
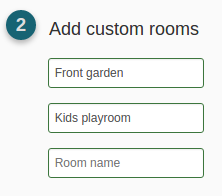
If there are rooms on the property that are not listed in the standard rooms, you can “Add custom rooms” in the second column. Whenever you add a custom room, a new field shows up below it, in case you want to add another.
(It is not recommended to add categories as rooms. There is already a category column, so it would duplicate existing sorting options, making it more confusing to all. One can create new categories as well.)
Finally click the Add rooms button and all the rooms will be added to your property:
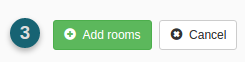
The system will redirect to the “Big House” property page and display all the rooms that were added.
If you have forgotten a room, add it at any time by clicking the button “Add room”. The rooms already in the property will show up on the right column and the left columns will be smaller than before. Check the forgotten room or type its name and click in the “Add rooms” button like before.
How to add a property
If you have more than one property associated with the inventory, and you purchased a multi-property plan, you can easily add it. Contact FairSplit if you need to upgrade your purchase.
Click Properties and assets on the menu to go to the Properties page:
You can see the property you set up before, i.e. “Smith downsize”. Click the Add property button.

A pop-up window will appear asking you to enter a property name. The appearance of this pop-up can vary depending on your browser. Just type the name of the new property and click OK:
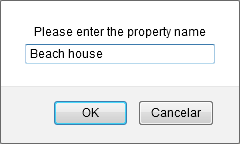
You will be redirected to the same page for adding rooms you saw in the previous section.
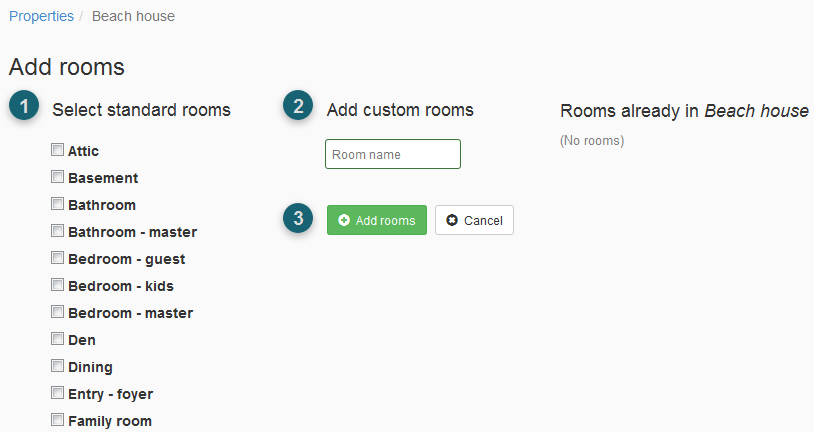
Just follow the same steps, select the rooms you want in the left column or type the names in the middle column and then click the Add rooms button. The new property will be created with its rooms.
The next step is to upload the photos, notes on each room contents and any other files (like appraisals) for each room. These photos and files can be associated with one or more assets afterwards or simply kept available in that room. When a photo or document gets associated with an asset, the eye image changes to a paperclip.
How to customize the Overview page
You can customize your family service by adding a photo and sayings or quotes.
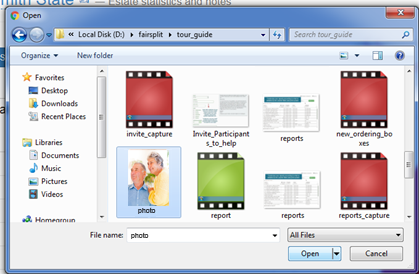
How to add an overview image
Click the button 
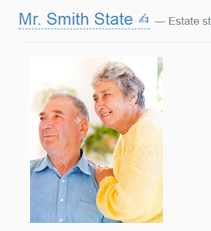
Find the photo or logo on your local files and click Open to upload it:
The photo will be uploaded and appear on the page:
How to add a saying or quote
From the Overview page, click on 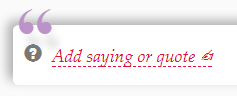
Write your quote and click the Ok button:
The new quote will be saved. Sometimes this may be a favorite quote of the family or elderly wisdom known in the family:

How to rename the division or inventory
From the Overview page, click the division name.

Enter the new desired name and click Ok.

The new name will be saved.
