Taking photos and uploading
After creating the rooms of the property, it is time to take photos and upload them in each room, in preparation for the listing step.
Although you may list assets directly and then upload photo(s) onto each asset, most people find it more productive to upload photos first – in groups, per room –, then list. We also recommend, while photographing a room, making notes for that room, then taking a photo of the notes.
It is useful to know in advance that in FairSplit photos are not shown in the order they are uploaded, but in alphabetical order by filename.
Taking photos
Be sure to watch our video on taking photos:
- either on https://app.fairsplit.com/
- or on our YouTube channel: www.youtube.com/@DivvyMaster
Photography guidelines to make your life easier
- Remember to take with you when taking the pictures:
- Notebook and pen.
- Tape measure.
- Letters or numbers to place next to items.
- Make sure that all the rooms have lots of light. When photographing anything, the more light the better. If you can keep the light source behind you, even better.
- If there are too many items, you don't need to take individual pictures. But always avoid photographing big groups of random assets - make smaller groups with themes that can later be selected as a batch in the division.
- Christmas ornaments can be separated in groups according to style or color.
- Books can be separated by theme – cook books, fantasy books, etc.
- Kitchen utensils can be separated in useful kits – small groups of pots, pans spoons, knifes, etc.
- Group shots are also fine for inventories where most people are familiar with nearly all assets. Multiple assets can be associated with a single photo - a good way to save time if details are not needed in the pictures.
- Use the notebook and pen to make notes about each photo, listing what is on it and adding details such as measurements, defects, etc. Also take notes of the rooms and which pictures were taken in each room.
- After photographing each asset, take a picture of your notes about that asset, so the photos and the notes will appear together on your phone or camera.
- Pictures saved in low to medium sized files are fine since they will be viewed online. Large files will slow down the processing time and take up space on your phone or camera.
- You will find the numbers or letters to save time and make it easier to identify the assets when there are many similar items together. Examples might be Lladro porcelain statues, or earrings, necklaces, watches, jewelry. Tip: Lay a blanket or towel on a bed and put several pieces of jewelry out and take group shots using the letters or numbers to help identify.
Adding photos and files room by room is recommended
There are two ways to upload photos and files. (Remember, some prefer to upload photos first and create the asset list while viewing those photos room by room)
-
Go room-to-room and upload files and photos related to each. If you have grouped photos by room as suggested in the ideal way to photograph a house, you will find uploading room by room is more efficient.
-
Use the central upload page to upload all files and photos of the division or inventory, but note if doing so, you will likely want to "MOVE" those photos to rooms afterwards, so think how you want photos organized in advance is best.
Add photos and files room by room (Recommended if assets are still in the house)
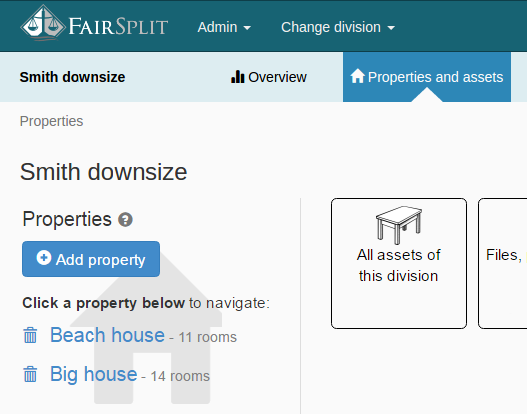
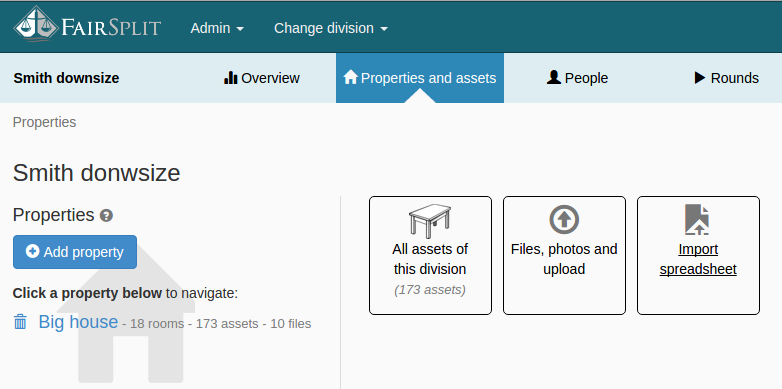
To use this method, you must first set up your Property and Rooms. To do this, click “Properties and assets” in the menu.

Here we have the two properties previously created. Click the “Big house” to navigate to that property.
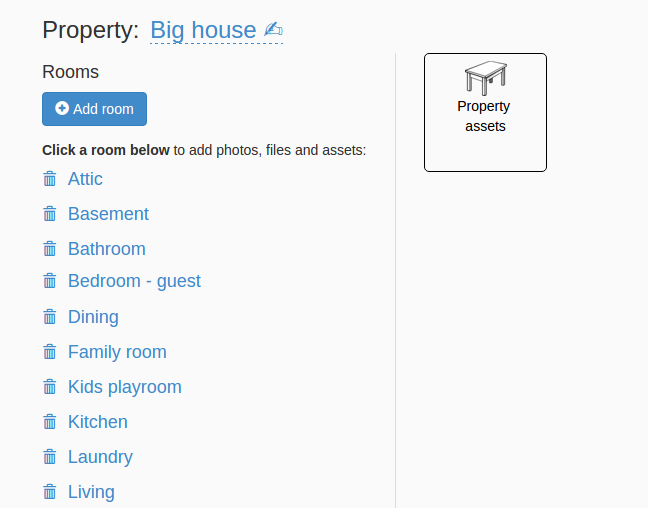
To upload photos of the living room, select “Living”.
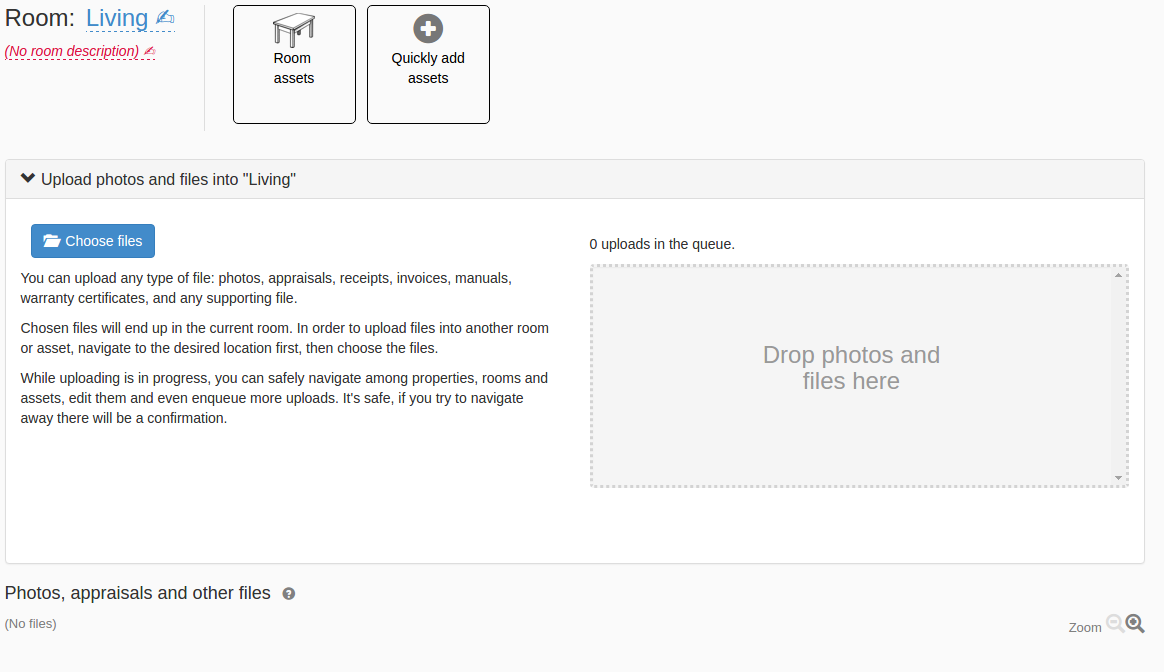
Below we can see the living room page. Click on Upload photos and files into ‘living’.

As with the previous method of uploading all photos, you can either drag and drop photos of the living room or click on the “Choose files” button.
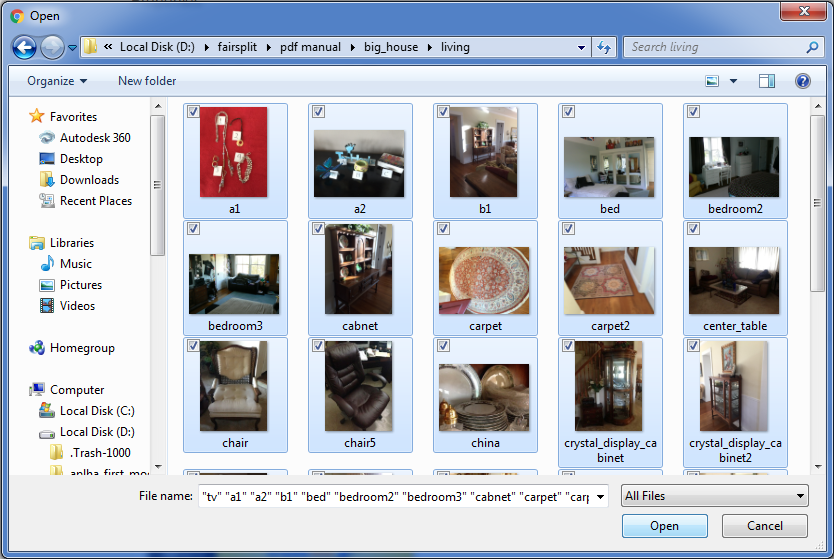
Here we will use the “Choose files” method. Click on “Choose files”, find the files on your computer and select all desired photos or files (ex. Appraisals) and click the “Open” button to start uploading all selected photos.
The uploaded photos and files go into the section “Photos, appraisals and other files”.
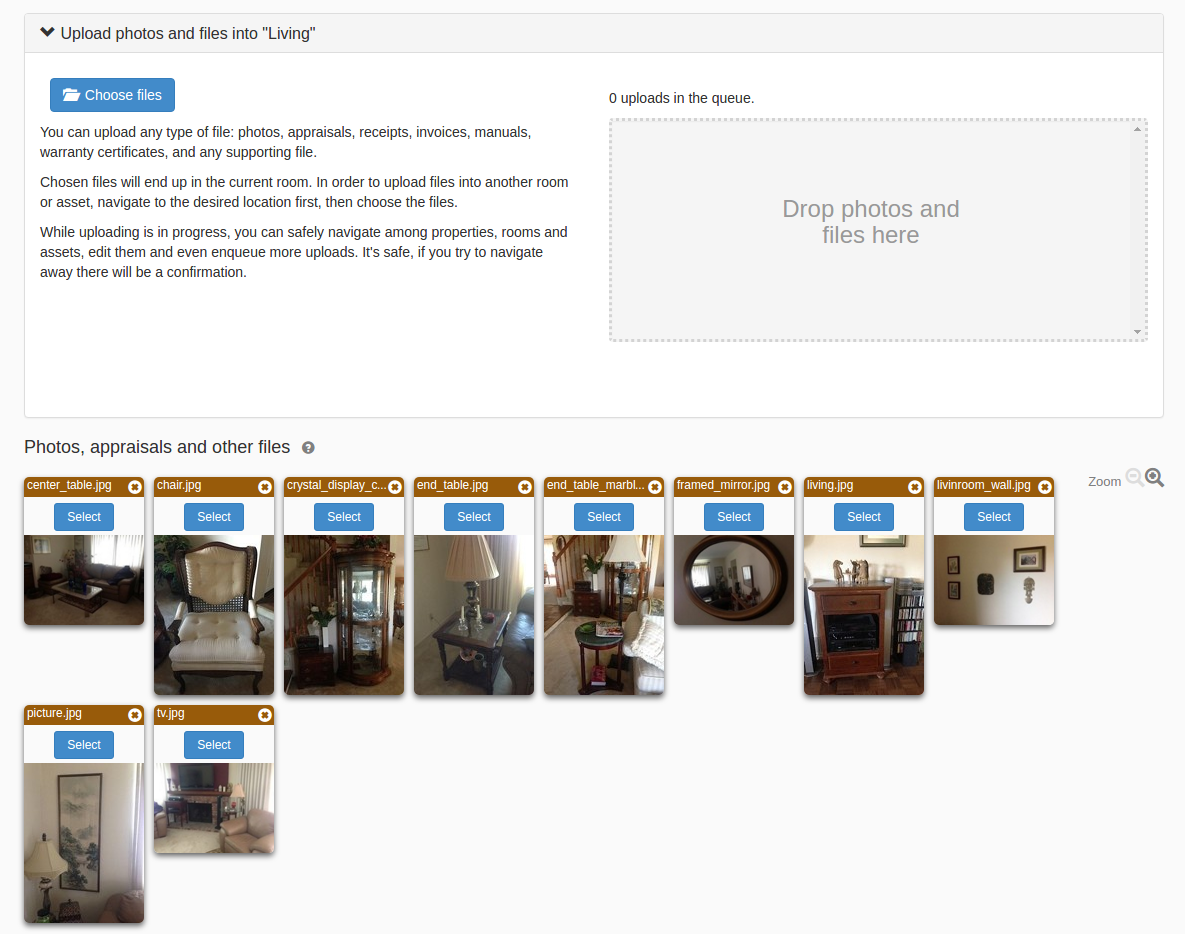
Repeat the process with the other rooms. You do not need to wait for one group to complete uploading before starting the next.
TIP: The files are shown in alphabetical order after uploaded, and NOT in the order they are uploaded.
Add all photos and files to the inventory or division
Use the central upload page to upload all files and photos of the division or inventory.
Go to the central upload page by clicking “Properties and assets” in the menu.
Then click on the button “Files, photos and upload”.
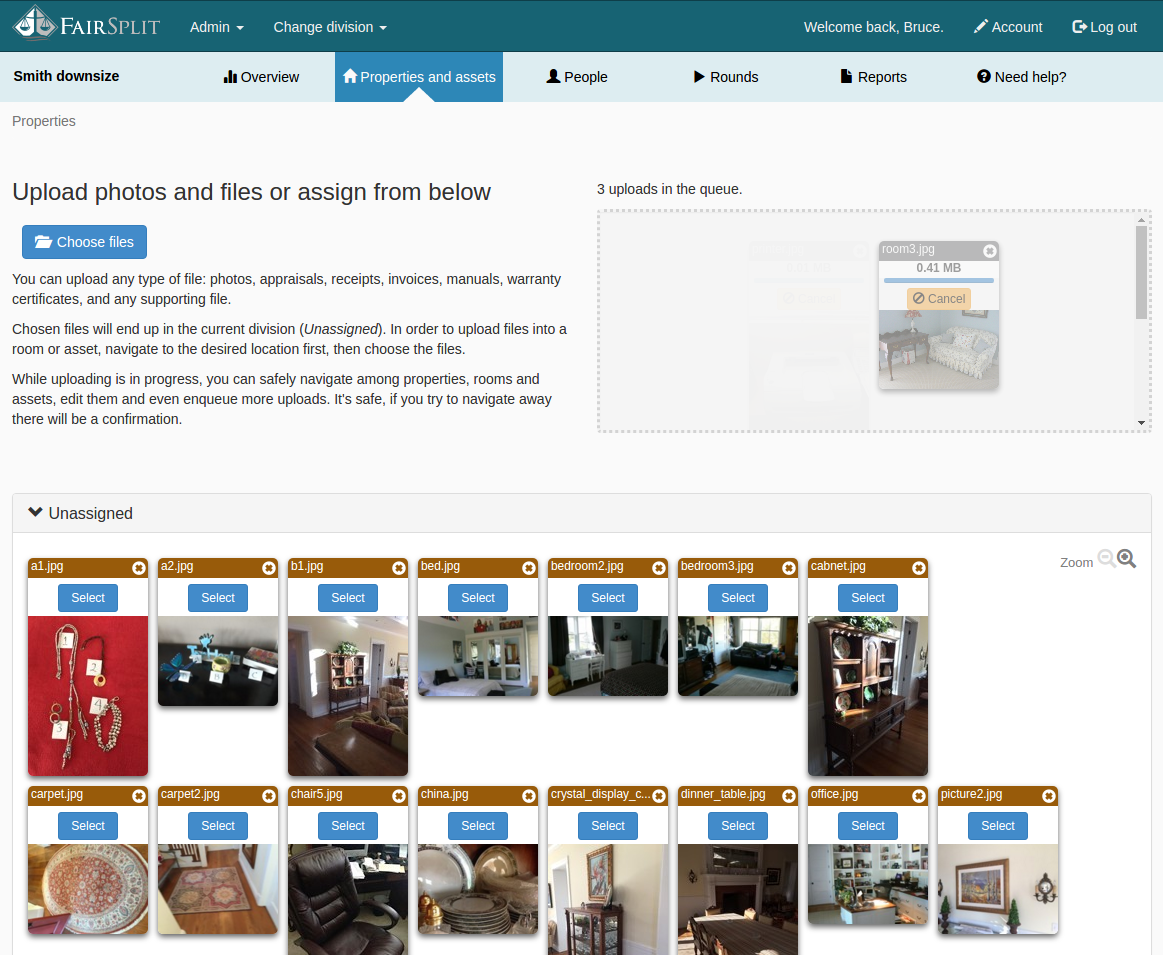
Here you can either select the “Choose files” button or drag and drop files to the dashed box on the right of your screen.
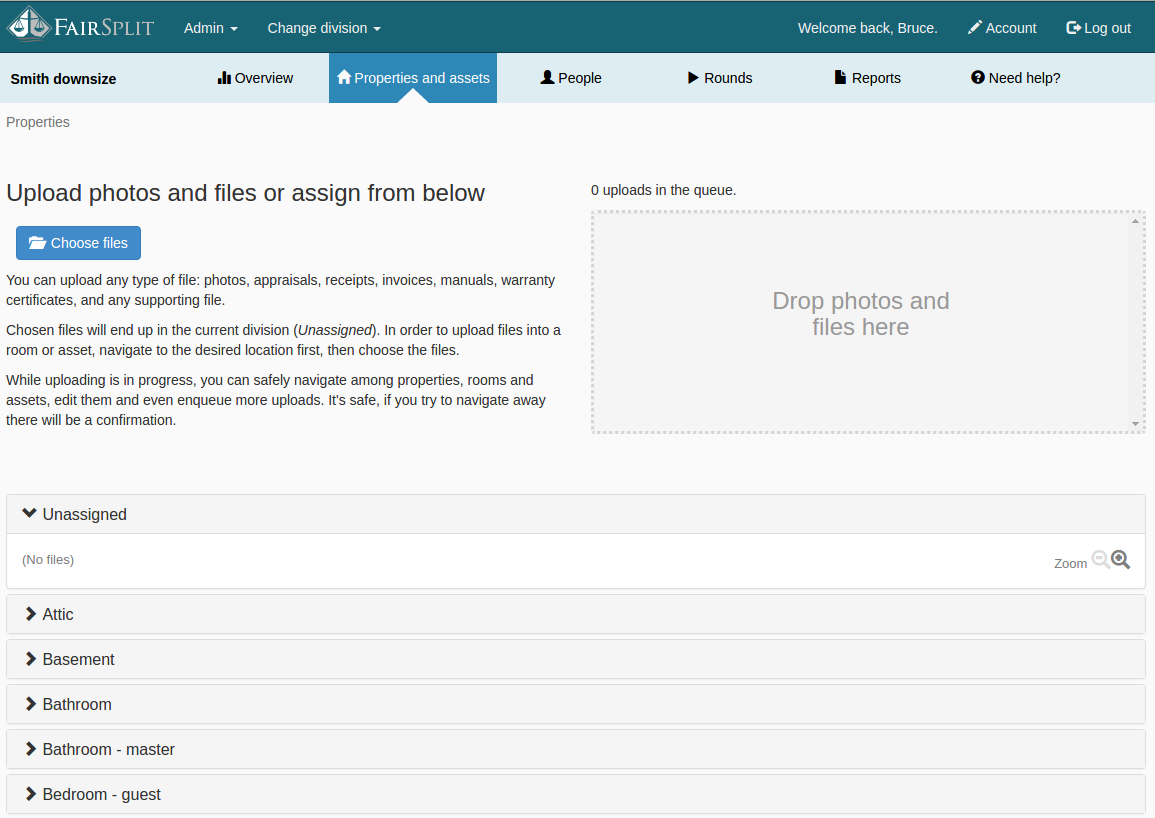
Before explaining how to upload photos or files (ex. Appraisals) (e.g. Appraisals), a few notes about the bottom half of this page. This consists of accordion panels where the files go after the upload.
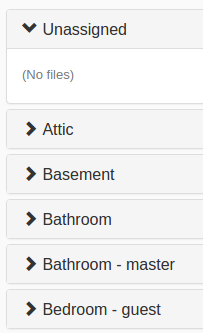
- All files initially go to the “Unassigned” panel. From here, they can be assigned to a room.
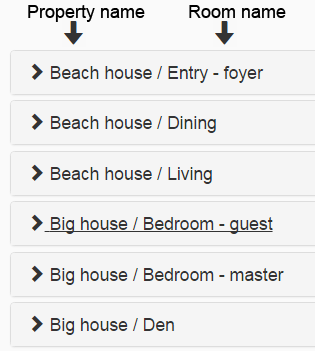
- If the division or inventory has only one property, the other panels will have only room names.
- However, if you have two or more properties, you will see the property name followed by the room name.
To upload photos using the “Choose files” option, click on the “Choose files” button. Go to the folder on your computer where the files are saved and select the desired files and photos. Then click, “Open”.
Tip: It is a good idea to have your files be relatively small, 100kb since they will be viewed online, higher resolution isn’t needed and FairSplit resizes. Larger photos can be used, but the bigger the file, the longer it will take to upload.

When each file is uploaded, it will go to the “Unassigned” panel.
After all the files are uploaded, then move the files from the “Unassigned” panel to the rooms they belong in.
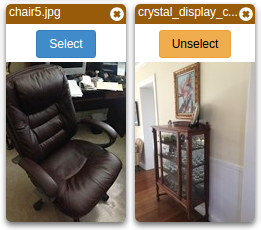
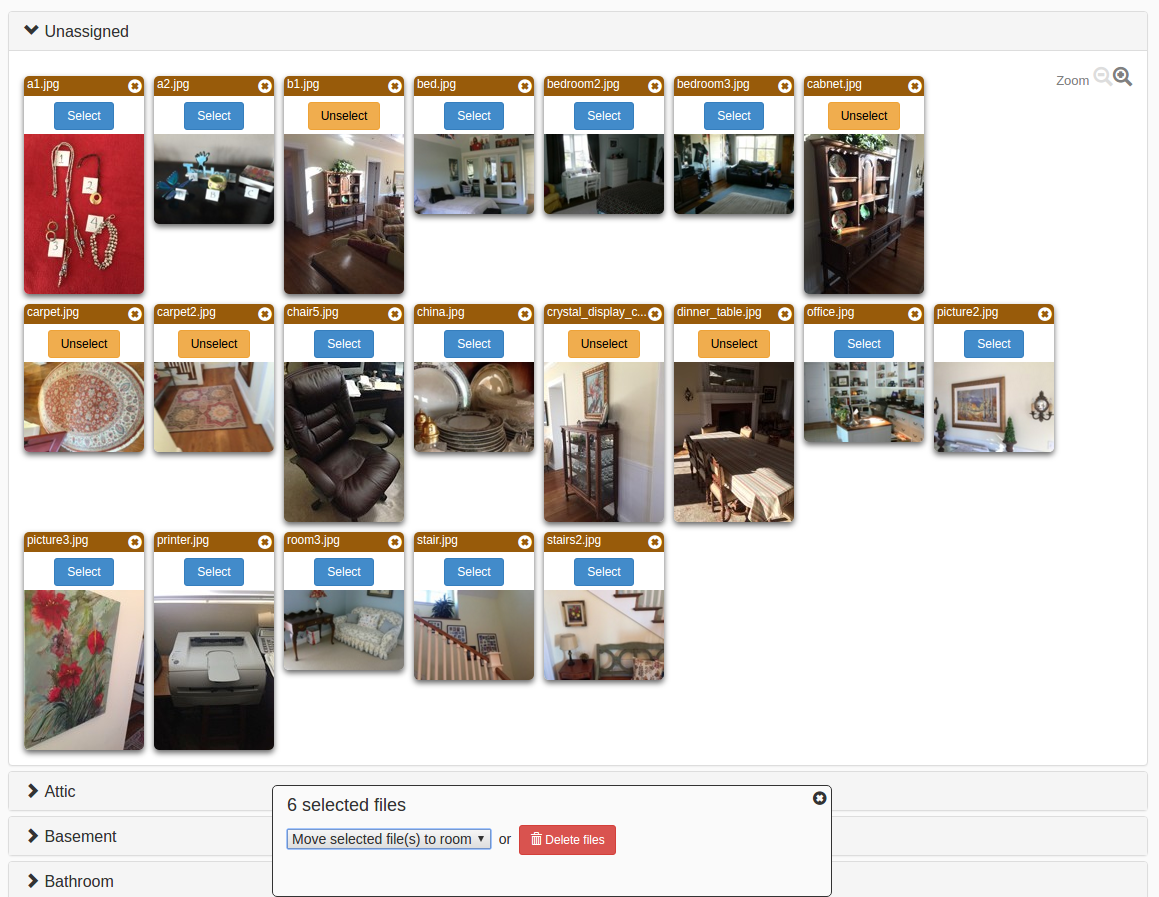
Each photo and file has a “Select” button. Click on it to select the file. Once you click on the “Select” button it will become an “Unselect” button to further manage choices.
Tip: To quickly assign photos to a particular room, select all the photos that correspond to that room.
The box below displays the selected file count (example, 6 selected files) and two controls; one to move the selected files to a room and another to delete the selected files.
To move the files click on “Move selected files(s) to room” and then select one of the rooms.

The image bellow shows the screen with selected and unselected files and the control box.
After moving the files, they will appear in the room panel as seen in the next image.
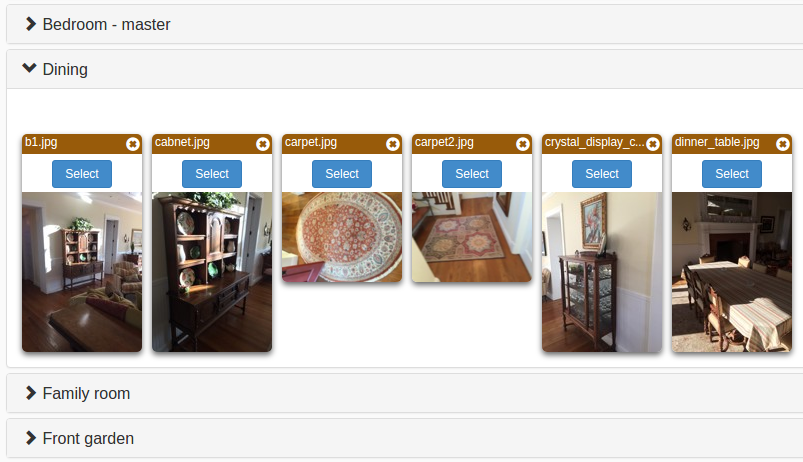
Repeat this process with the other images until all images are in their corresponding room.
To upload photos using the drag and drop method, simply drag a photo from your computer into the box and then follow the same process outlined above.