Listing assets
After uploading all the photos, it is time to list the assets in them.
There are multiple ways to list the assets:
- Recommended: let AI list the assets, from the uploaded photos, and just revise its work.
- Rename photos and then have FairSplit create assets from them.
- Upload an already prepared spreadsheet, to import its data.
- Manually list assets on the grid.
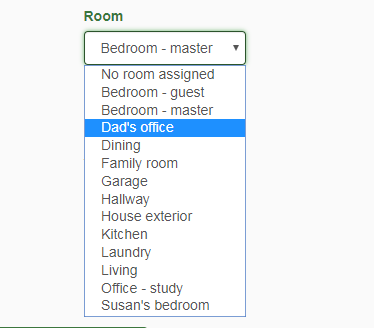
What if I am listing boxes or storage units, not rooms? We recommend using the Rooms feature to express box numbers, storage unit back, storage unit front etc. And we do not recommend using categories for that purpose. Add numbers with zeros on the left, such as “Box 001”, in order for these to sort correctly in reports.
Prefixing an asset name can be used for other purposes too. For example, "NMB" may indicate items that should be moved to the “new master bedroom”.
Listing with AI
This user manual does not yet cover our best method of listing assets – using Artificial Intelligence. For more information on AI listing, please watch...
- a video tutorial on app.fairsplit.com
- or on our YouTube channel: www.youtube.com/@DivvyMaster
What is the difference between "Est. dimensions" and "Approx. dimensions"?
When taking photos you can juxtapose something for scale reference: a tape measure, yard stick, ruler or dollar bill.
If the AI sees a scale reference device on the photo, it writes "Approx. dimensions". If not, it writes "Est. dimensions".
How to list an asset for each photo
After uploading all of the photos in a room, you can convert those that have a single asset to be listed into assets, ONLY when each photo represents a single asset. In those cases, this will save lots of time.
Click the photo to open it:
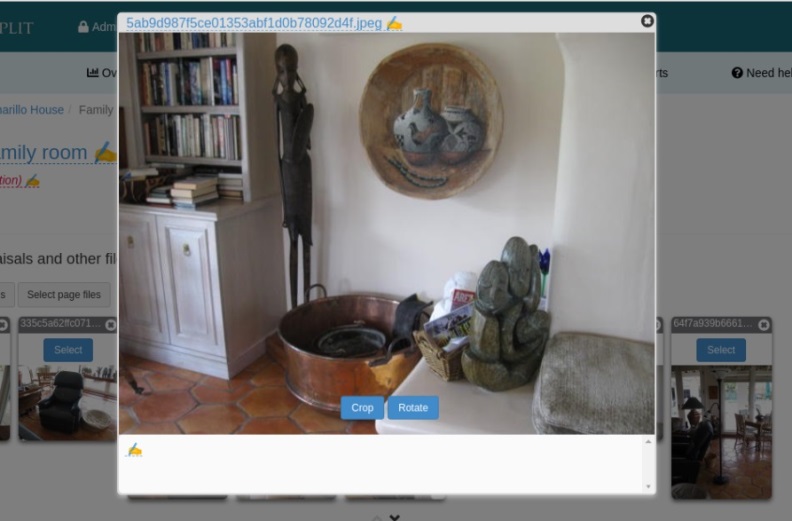
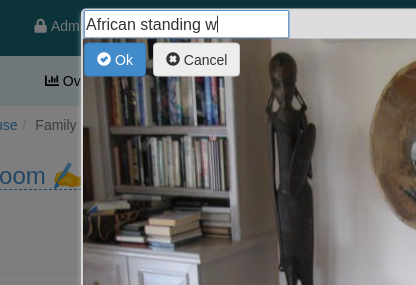
Click the photo name at the top and add a descriptive title. This title will become the name of the asset after the conversion. You can also add detailed information by clicking on the bottom of the photo and everything typed there will be part of the asset’s detailed description after converting the photo into asset.
Press OK to save it:
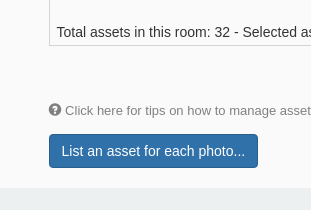
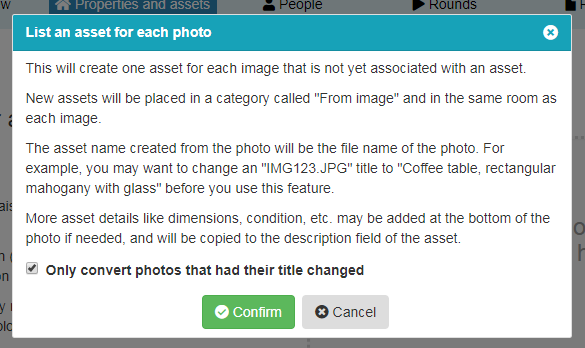
Then do the same with all the photos of the room you want to convert into assets and finally click the "List an asset for each photo ..." The only thing left to do is assign the listed asset a category.
NOTE: If multiple assets are to be named in a single photo, do not use the photo renaming, as it will associate the photo with that single asset and it will not be available to use to associate with other assets. In other words, list assets from a multiple item photo in the table and then associate the same photo with each specifically:
A confirmation window will appear explaining what the conversion of photos in assets will do and giving the option to convert even photos that did not have the title changed. Click Confirm:
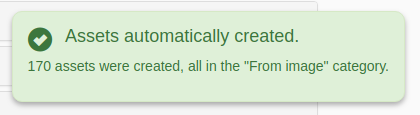
You will be notified about how many assets were created:
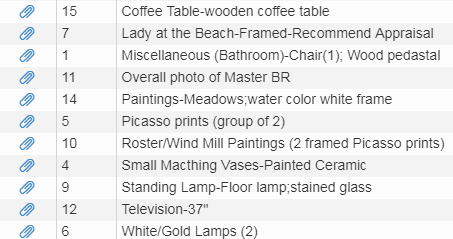
The assets will appear on the grid with the names used in the title of the photos. You will only need to edit the Category that will show as From image to Furniture, Artwork, etc:
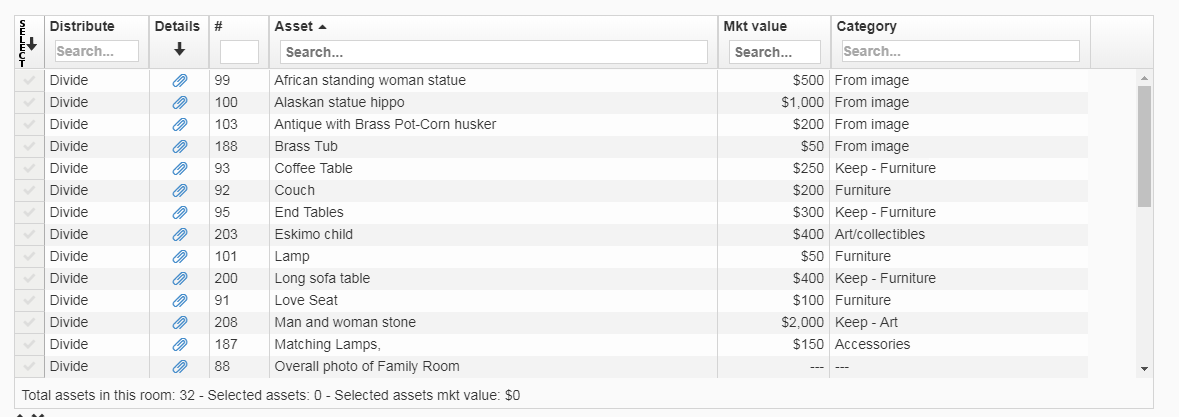
You can click on the paper clip icon to see the details of the assets and the photo:

Associating assets with photos and files
After adding the assets, you can associate the photos and files with the assets. This way the assets can be more easily identified.
Tip: More than one asset can be associated with a photo or file. This is helpful for group shots of small items, or when wide shots include many named assets. If you listed assets from photos, the photos are already associated with those named assets.
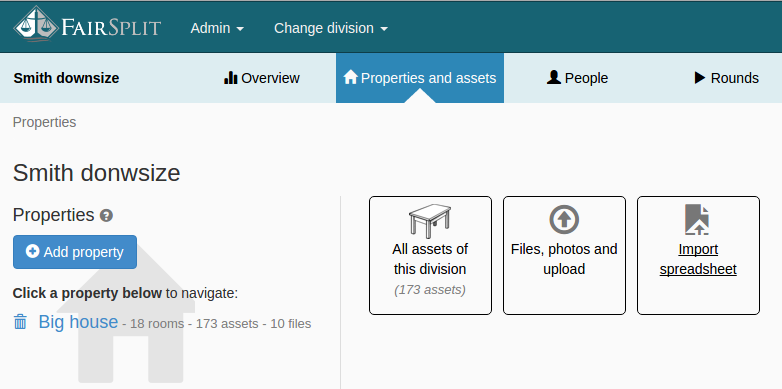
Click Properties and assets in the menu:
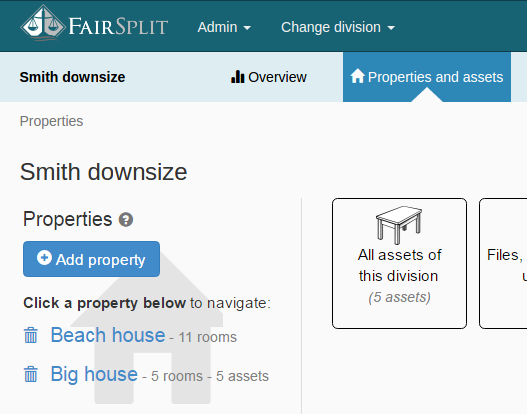
Then click the box, All assets of this division:
In this example, we want to associate a photo of a chair with the asset named “Chair”:
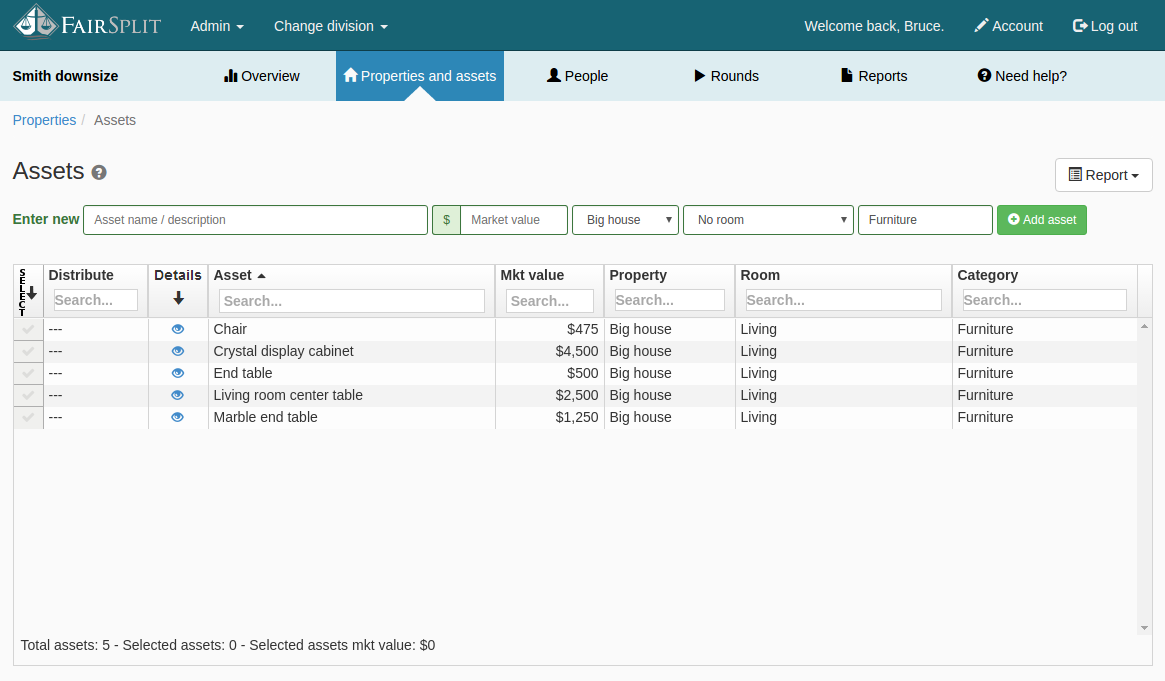
Click on the eye icon to show the asset details. This grid view, with Enter New row is a great way to quickly list the assets seen in the room photos. The Room, Property and Category stay constant from one new entry to the next until they are manually changed, so sometimes it can be fastest to list all furniture items, then artwork, etc.:
Tip: This is where having more than one Lister role, allows siblings or other parties to take on some of the tasks of getting things listed. If you have someone helping, let them know which rooms they can list assets for, or have them improve the asset names, etc.

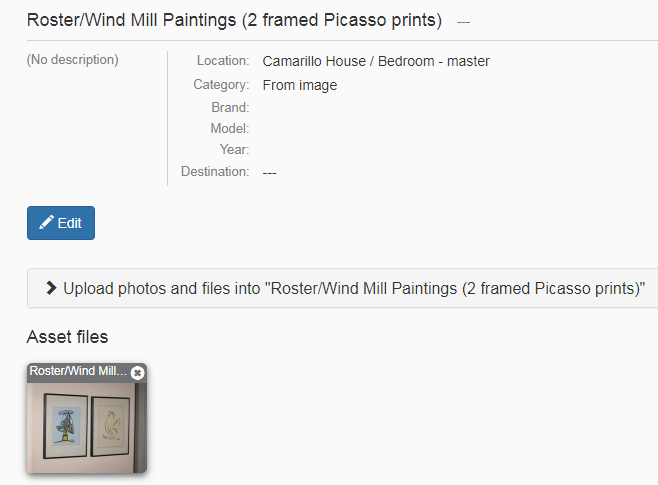
Here you can edit the asset information and associate the file(s) and photo(s) directly to the asset:
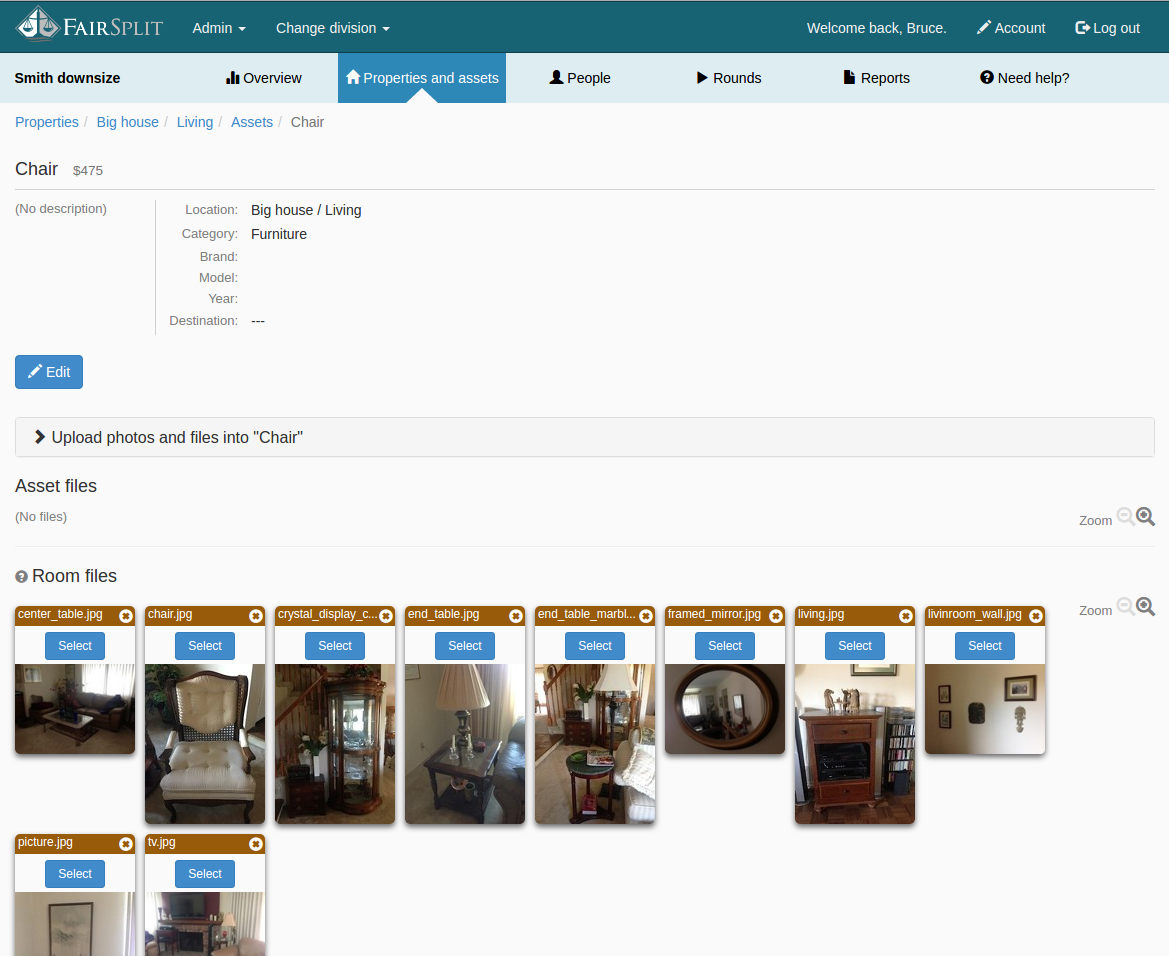
To modify the asset details, click Edit:

To add files and photos to the asset, click Upload photos and files...:

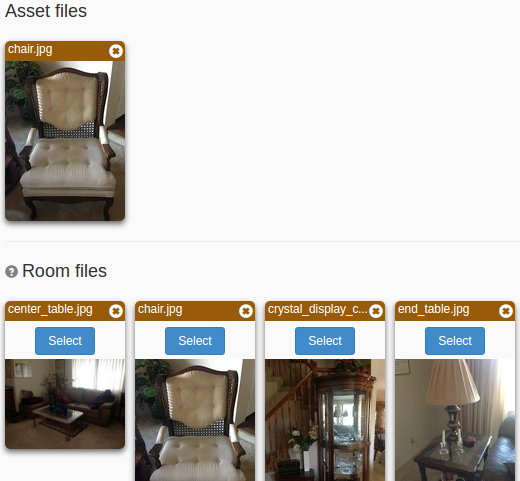
At the bottom of the page there are two sections. The first is “Asset Files” which is currently empty. The other is “Room Files”. This can include photos and files (e.g. Appraisals, notes, etc.):
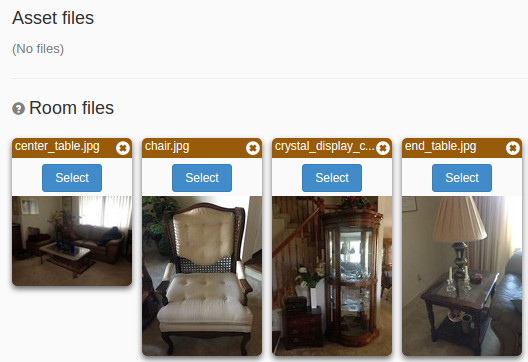
Click the Select button on the photo of the chair. The button is replaced by an Unselect button, indicating that the photo has been selected correctly:
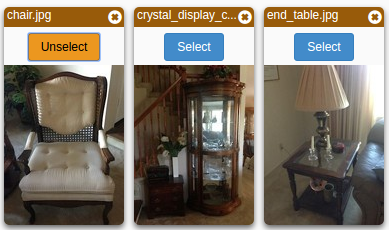
When photos or files are selected, a panel appears at the bottom of the screen. This allows you to:
- move them to another room,
- delete them, or
- assign them to the current asset. To do this, click the blue button "Associate with asset":

Now the selected photo also appears in the Asset files section. The photo also stays in the room and can be associated with other assets shown in the photo. In the case that you have multiple photos of a single item or an appraisal of that item, these can all be associated with that asset:
To return to the previous page with the grid containing the assets of the division or inventory, click the Back button on your browser or click on Assets on the “breadcrumb trail” at the top of the page, just below the menu:
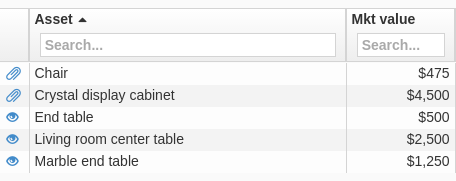
Each asset that has a file or photo associated with it will have the eye icon replaced with an icon of a paper clip, indicating that the asset contains files or photos:
How to add custom assets
FairSplit offers three ways to add assets to a division or inventory.
Use the quick form to manually add assets to room and edit to improve the asset names later. Here’s how:
First click Properties and assets in the menu:
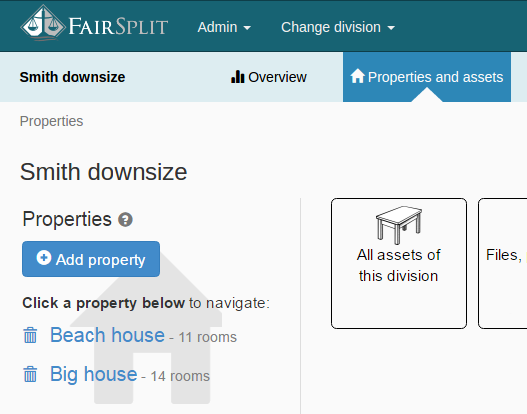
Select the property name in the properties list. For example, “Big house”:
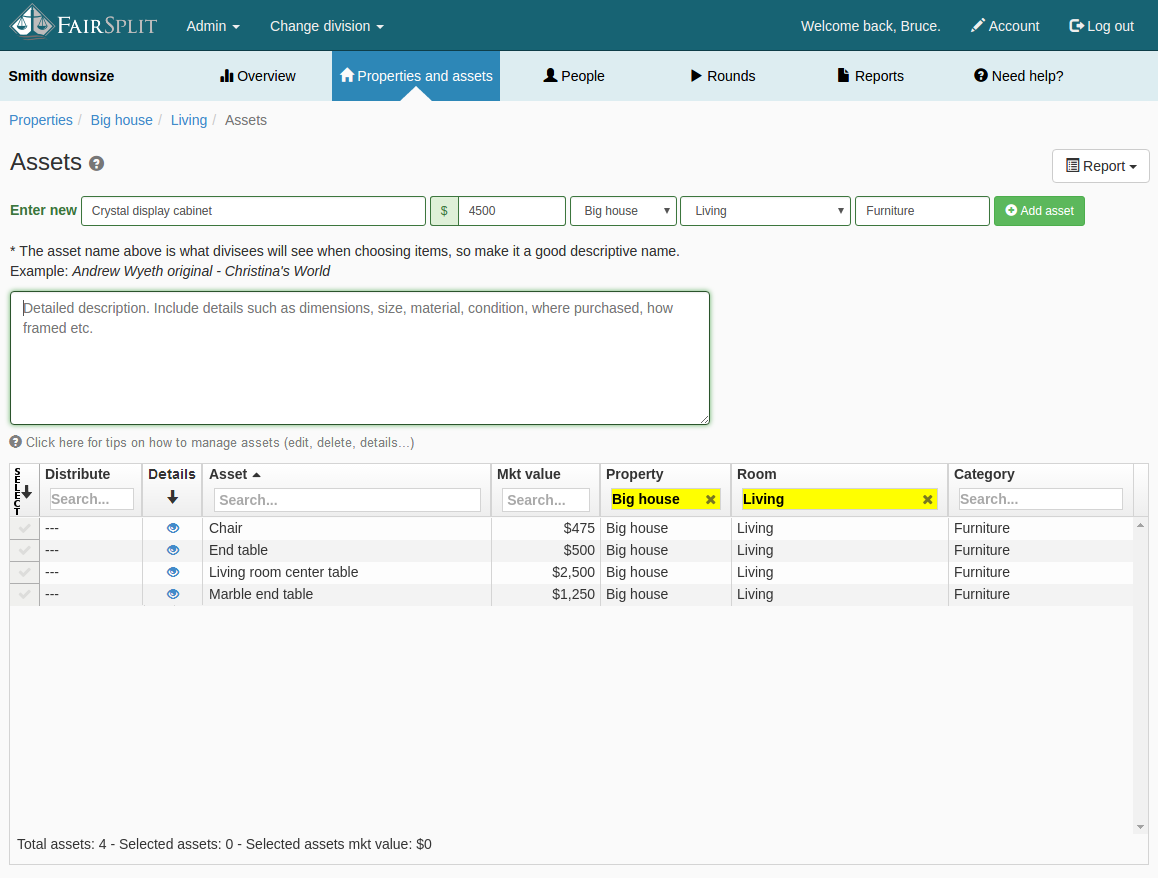
Now enter one of the rooms to add assets. For example, Living:
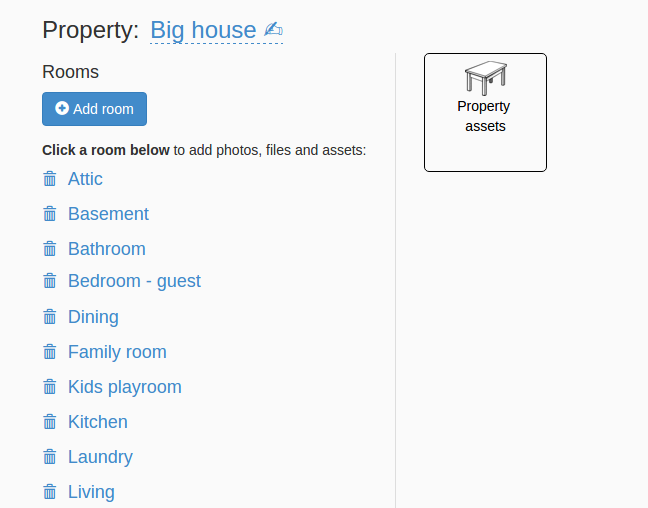
Next, click Room assets:
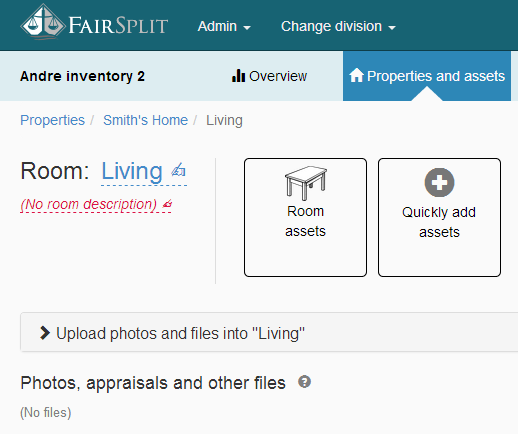
This page will list the assets associated with this room. At the top there is a horizontal form to add new assets and the photos of that room appear on the same page:
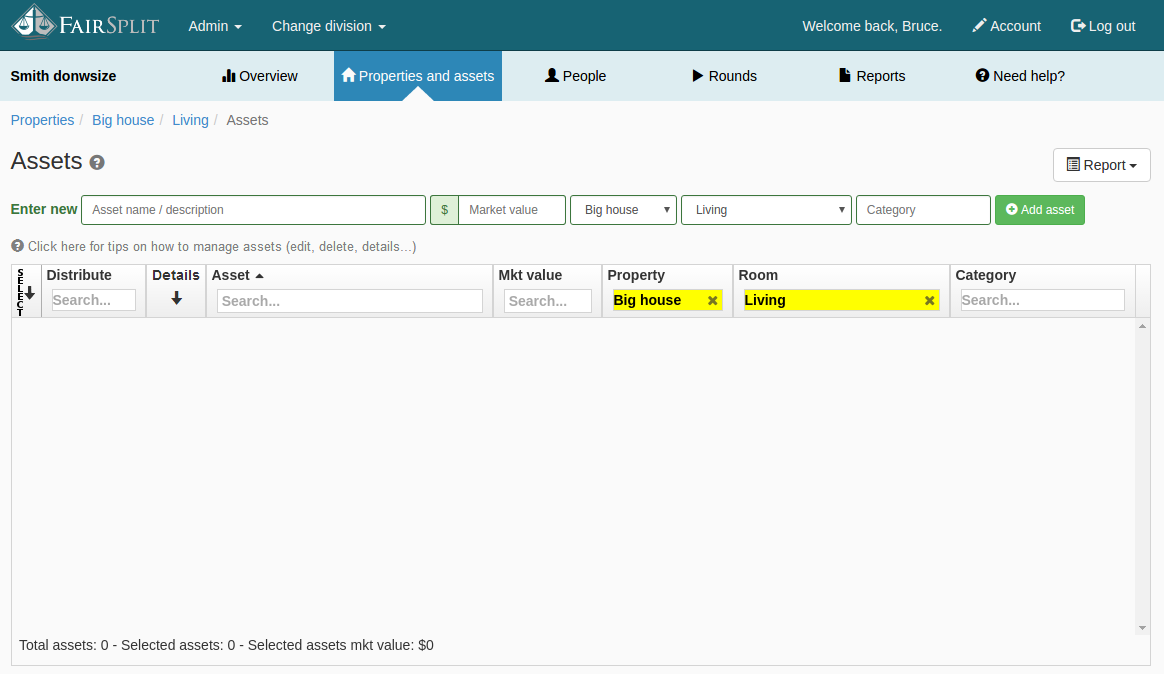
Complete the form, specifically the Asset Name and Fair Market Value (if values are wanted):
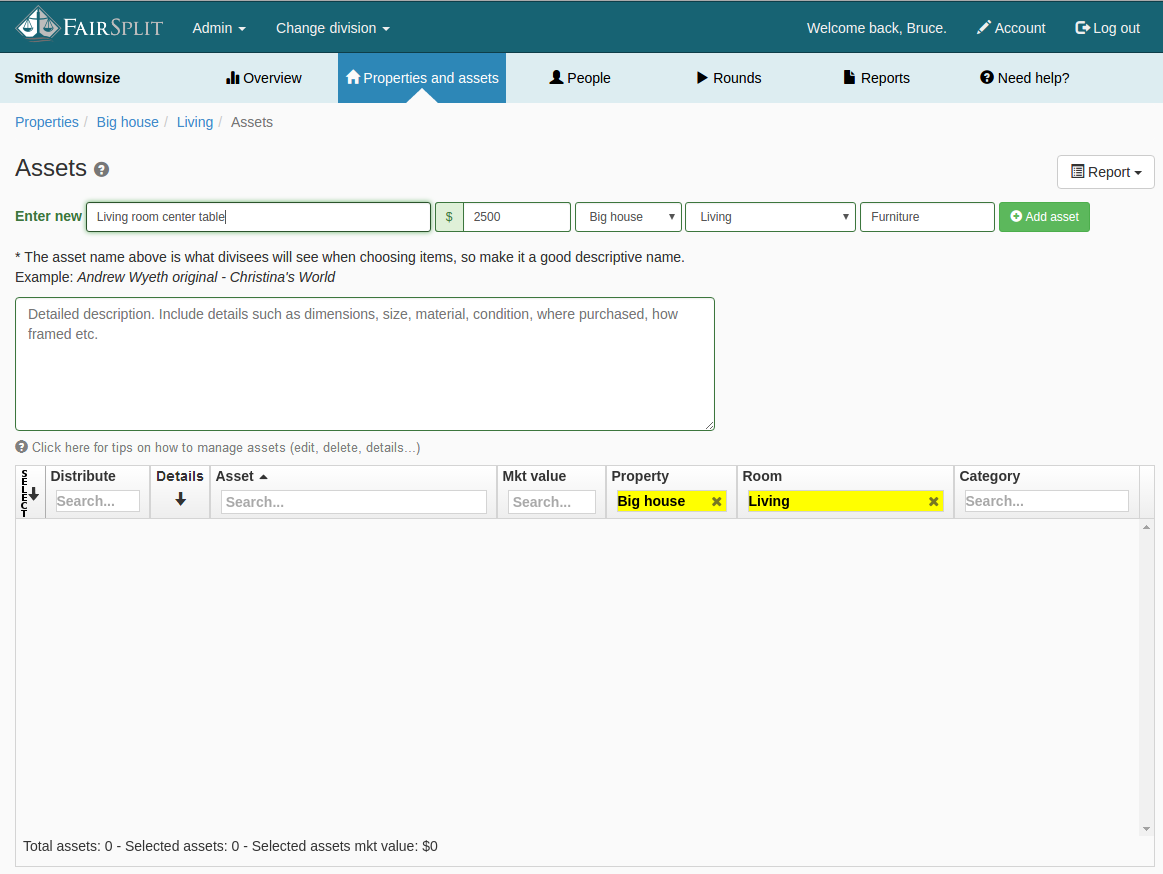
Tip: The asset name is most important, as it is what divisees see when choosing items, so make it a good descriptive name. (for example – coffee table, rectangular light oak and glass - not just: “coffee table”, or: large framed oil painting of forest and cabin – not just: “oil painting”)
Tip: If your family has indicated most items are not wanted, don’t waste your time listing every item or asset in the house. List only the items you think at least one person may want. This will save you lots of time, and in the Asset Review Round all Divisees can indicate if they don’t see something they would like for you to add, or if you allow Listing Roles, they can add themselves. But do put photos of the contents of all rooms so you have full transparency and everyone will have the same chance to list things not listed before they are sold or donated:

Other fields are for the name of the property, room name and category, for instance, “furniture” or “artwork”. The fastest way to add assets is to stick with the same category and room until items of that group are listed. The field “category” needs to be filled in, but it will remain the same for the next item. Having the assets list organized by room and category makes the work to add them fast, because this data is kept constant until one manually changes the names as one lists items, so only the names and values of the assets are needed for the next items.
One may choose to enter names only and do values later, or have another Participant (Valuator) assign MV or Market Values. Sometimes this may be an independent third party or an appraiser. Some families opt to not have values, or only for items over some fairly high value like 500 or $1000.
If part of the distribution is determining who assumes certain debts or liabilities, a negative $ value may be entered to reflect a negative value. This most often comes into play for divorce divisions.

The last field is for a detailed description of the asset, where you can add details like size, condition, brand, appraisal notes, or even a story about the asset meaningful to your family. We do not have it broken down into brand, model number, date purchased, etc. like an insurance inventory because usually family members are already familiar with the assets.
Note: if all parties to a division are familiar with the items, less description is needed. Often in divorces and estate divisions all parties are familiar with the items, so little is needed beyond a good item name to identify it:
The last step is to click the Add Asset button (far right) to add the new asset. Add Asset also serves to “save” the entry:

Each additional asset will appear in the grid below the form as you can see in the following image:
How to move assets
FairSplit offers a way to move an asset from a property or room to another.
Click the paperclip or eye icon to open the detailed view of the asset:
With asset details open, click the Edit button:
Then click the select control and choose the new room to which the asset should be moved:
And finally, click the Save button:

Please note that if you move an asset to a new room, you may also want to move the associated photo (if there is one) to the new room as well. The photo stays in the current assigned room unless it is move separately.
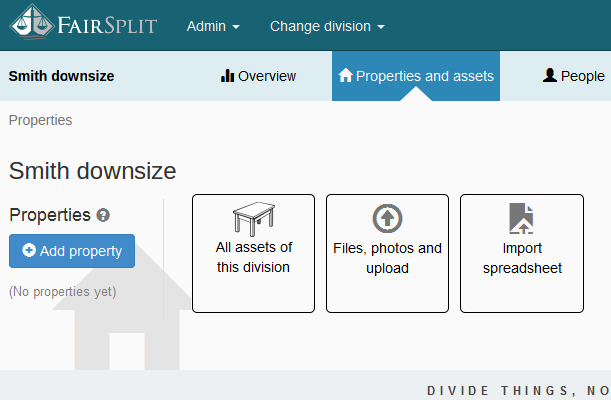
How to upload an inventory spreadsheet
You can import an existing inventory into FairSplit by adapting a spreadsheet and uploading it. FairSplit will import properties, rooms, assets and categories. The spreadsheet must be in the XLSX (Excel) format and must have its data under certain headers.
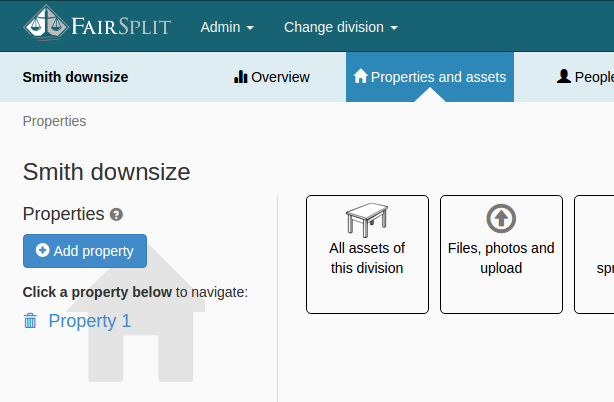
Start by clicking "Properties and assets" in the division menu:
The system automatically creates a property named Property 1.
Since you will instead be uploading a spreadsheet, you need to delete the default property by clicking on the trash icon: 
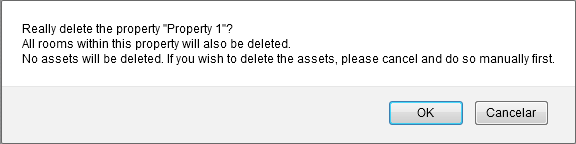
A confirmation box will appear. Click theOK button and the property will be deleted:
Now there is no property in the “Smith downsize” division. All assets and information about properties, rooms and assets will be imported through a spreadsheet, which must first be properly structured for compatibility.
Note: FairSplit supports LibreOffice Calc or Microsoft Excel. If you have a home inventory exportable only in PDF, it will need to be converted to a compatible spreadsheet format.
To structure your spreadsheet, download the sample spreadsheet from FairSplit.
Open the file. If you already have an inventory spreadsheet, change the headers to match FairSplit’s (see Spreadsheet Rules below). If you don’t have a spreadsheet, but prefer to work in a spreadsheet, start populating FairSplit’s sheet with the relevant information and save it to your computer.
Note: FairSplit will not only add assets, but also the properties and rooms associated with the division or inventory.
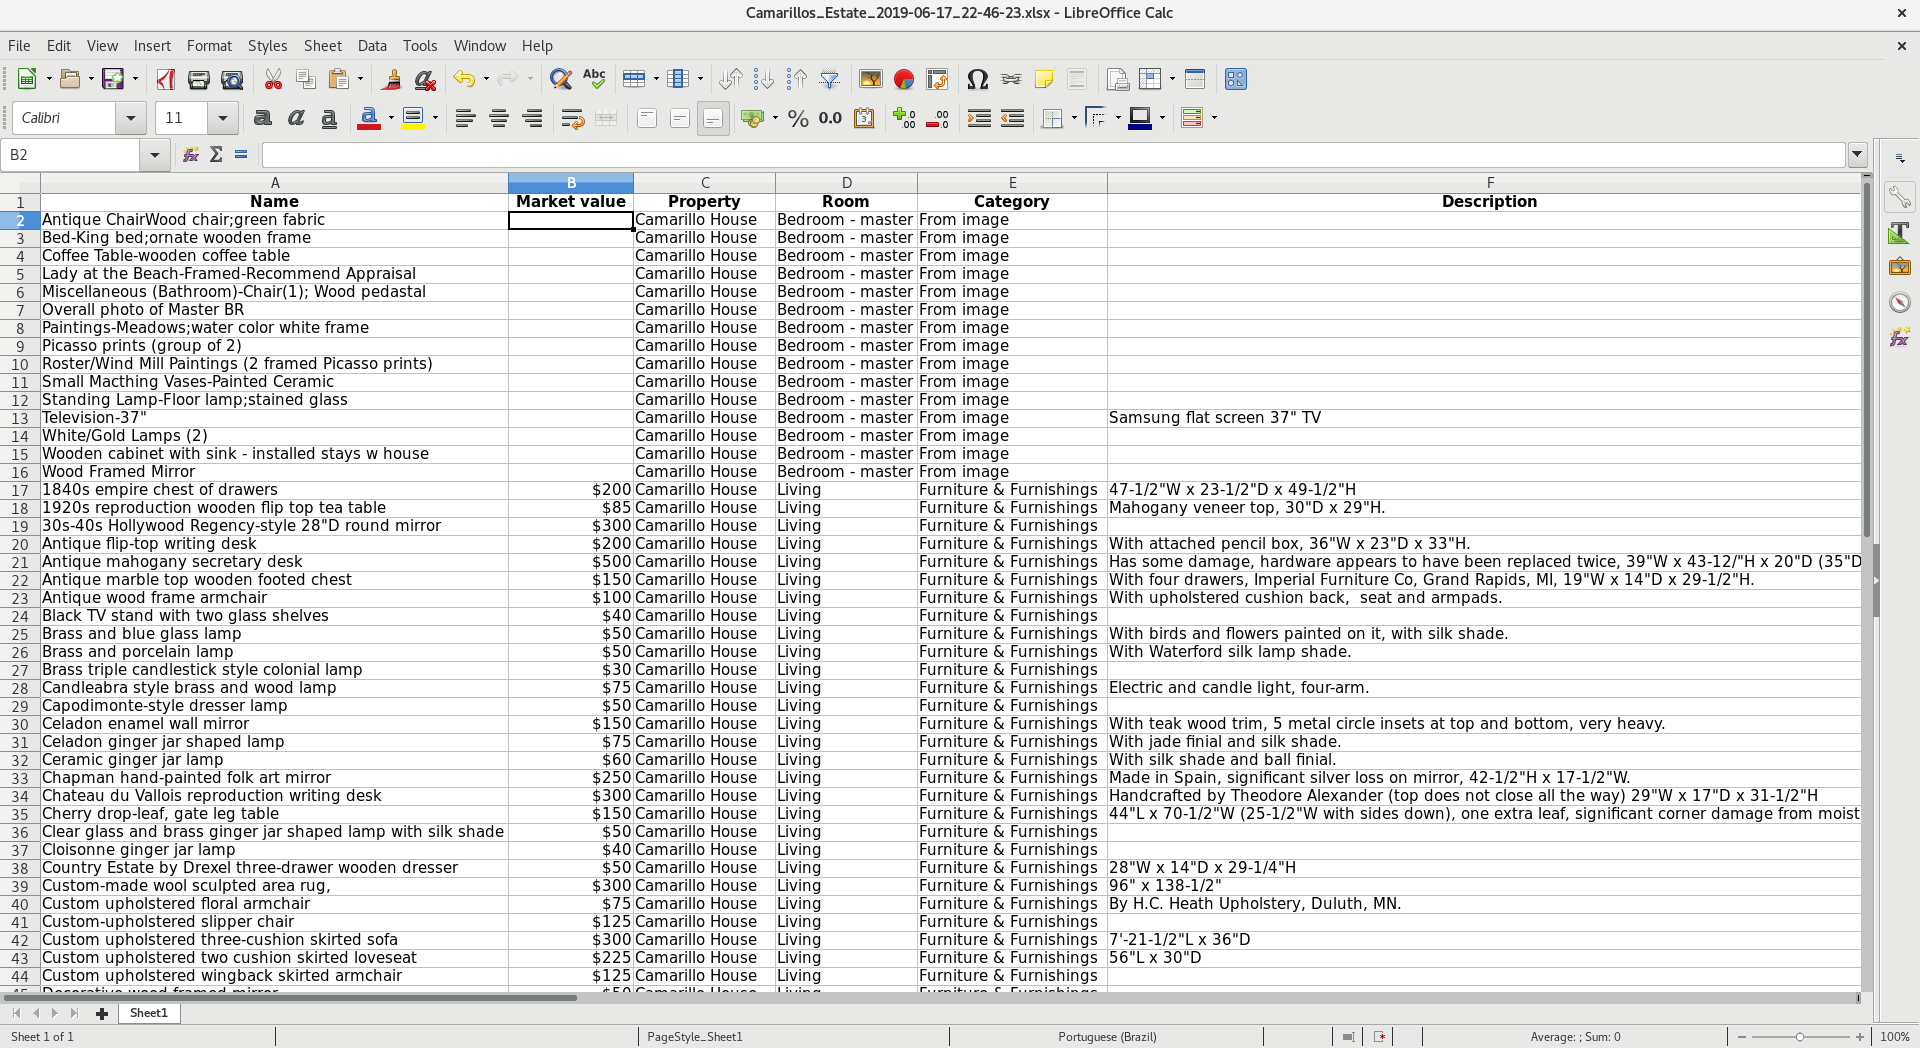
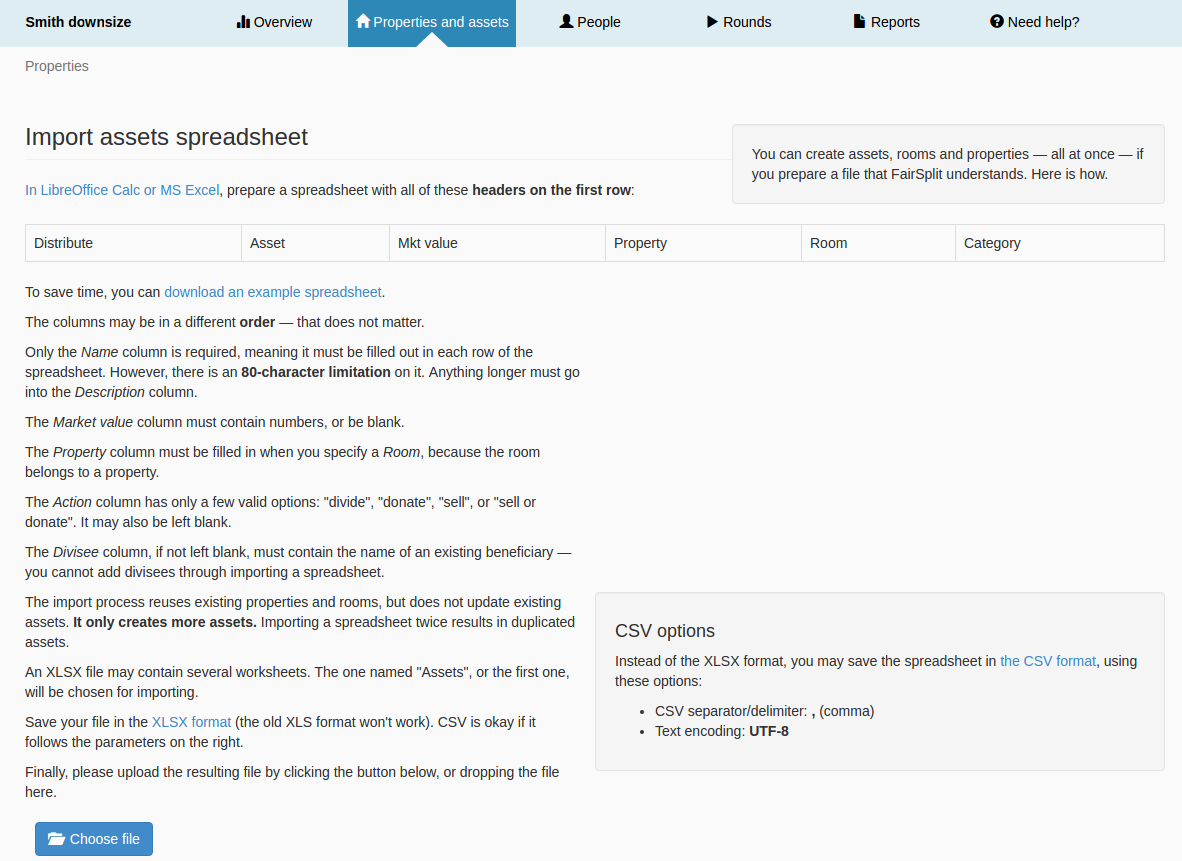
Spreadsheet rules
- The spreadsheet must contain all of these headers on the first row:
- Name
- Market value
- Property
- Room
- Category
- Description
- Brand
- Model
- Year
- Action
- Divisee
- Files
- The columns may be in a different order ― that does not matter.
- Only the Name column is required, meaning it must be filled out in each row of the spreadsheet. However, there is an 80-character limitation on it. Anything longer must go into the Description column.
- The Market value column must contain numbers, or be blank.
- The Property column must be filled in when you specify a room, because the room belongs to a property.
- The Action column has only a few valid options: "divide", "donate", "sell", or "sell or donate". It may also be left blank.
- The Divisee column, if not left blank, must contain the name of an existing beneficiary ― you cannot add divisees through importing a spreadsheet.
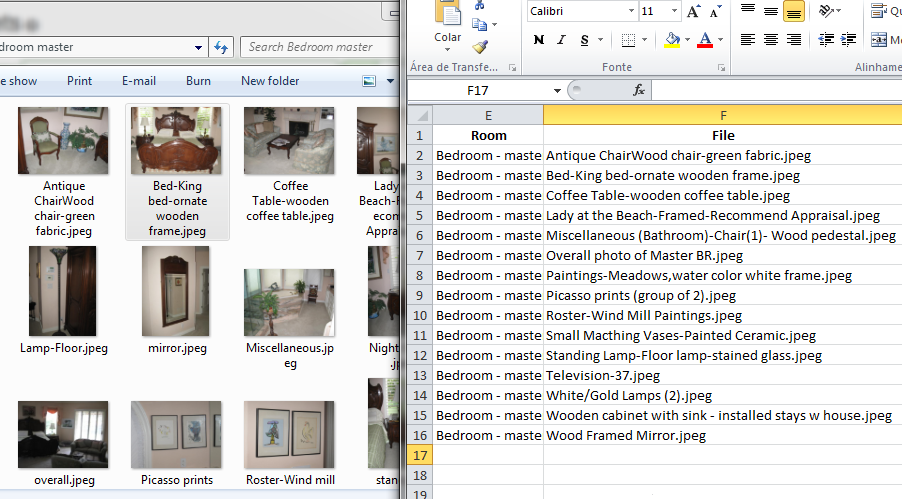
- The Files column can contain the names of existing files, images and photos (already uploaded to your inventory) ― one file per line within the cell. This will cause the file(s) to be associated with the asset being imported. If the file is not yet inside a room, but the asset being imported is, then the file will be ported to that room, too.
- The import process reuses existing properties and rooms, but does not update existing assets. It only creates more assets. Importing a spreadsheet twice results in duplicated assets.
- An XLSX file may contain several worksheets. The one named "Assets", or the first one, will be chosen for importing.
- Save your file in the XLSX format (the old XLS format won't work).
- You may save the spreadsheet in the CSV format, using these options:
- CSV separator/delimiter: , (comma)
- Text encoding: UTF-8
Here is a sample spreadsheet with information added:
If your inventory has photos and files, make sure that the file names in the files column are identical to the uploaded file names, including the extension:
Remember that you need to upload the files before importing the spreadsheet.
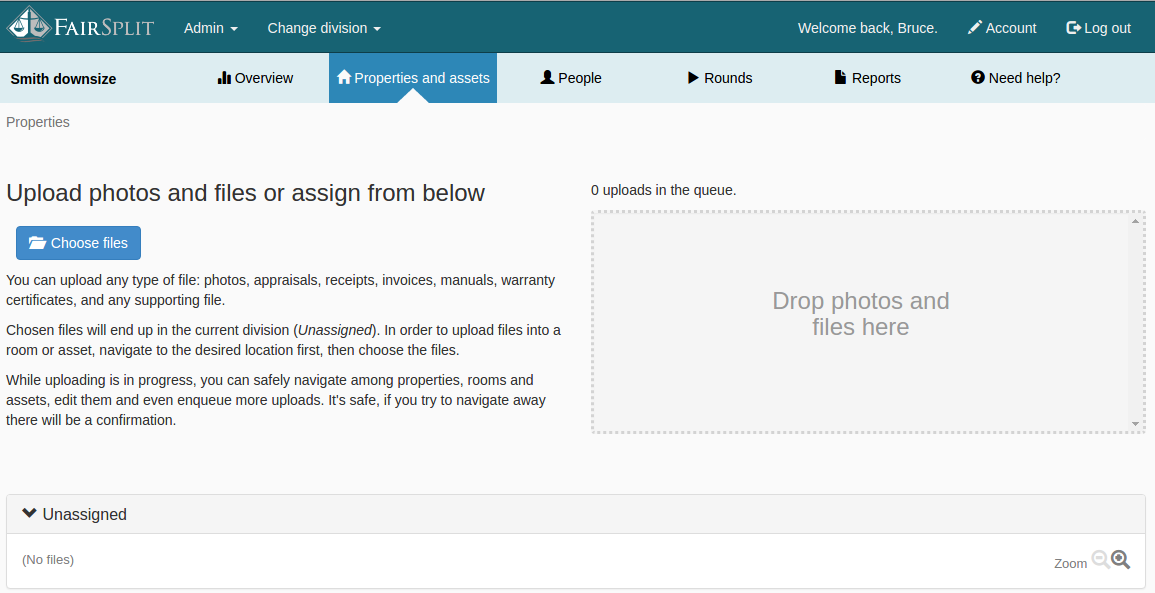
Under Properties and Assets, click the Files, photos and upload button:
Here you can either click the Choose files button or drag and drop files to the dashed box on the right of your screen:
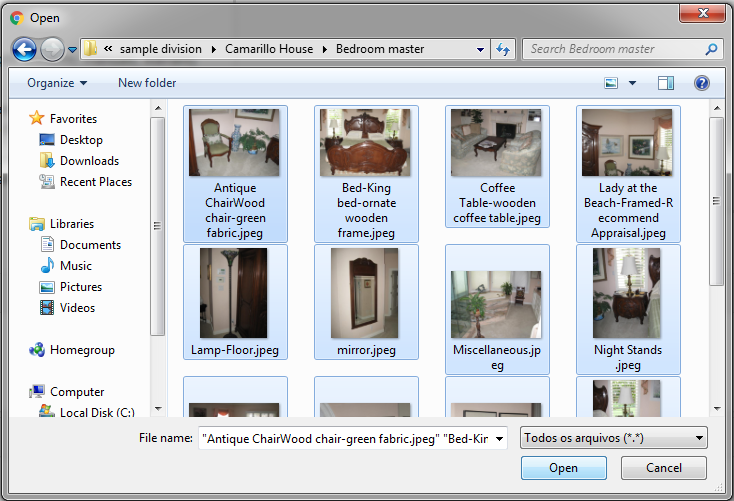
Go to the folder on your computer where the files are saved and select the desired files and photos. Then click, Open:
Tip: It is a good idea to have your files be relatively small, 100 KB since they will be viewed online, higher resolution isn’t needed and FairSplit resizes. Larger photos can be used, but the bigger the file, the longer it will take to upload.
After all the files are uploaded, the spreadsheet can be imported. Go back to the central upload page by clicking Properties and assets in the menu:
Click the Import spreadsheet button:
This is the Import assets spreadsheet page wherein the rules to create the spreadsheet are defined. Click the download an example spreadsheet:
To import the spreadsheet, click the Choose File button at the bottom of the Import assets spreadsheet page:
Select the spreadsheet file and click Open:
The system redirects you to the assets page where you can see that all the information was imported into the system:
If you click Properties and assets in the menu, you can see that the property – “Big house” and rooms – 18 rooms – were added:
How to import an inventory done in another app
If you already have an inventory taken through another app, you can adapt the data and import the asset information into FairSplit.
Most apps will have an Export Inventory function. Export to a spreadsheet format such as Excel or CSV.
Then, in a FairSplit inventory:
- From the division menu, choose "Properties and assets".
- Click on "Import spreadsheet".
- Read the instructions on the screen about how your spreadsheet should be organized.
- Using a spreadsheet program such as LibreOffice or Excel, adapt your spreadsheet to the format expected by FairSplit.
- Go back to the FairSplit page and upload your spreadsheet to populate your inventory.