Taking and uploading photos
After creating the rooms of the property, it is time for the lister role to take photos and upload them in each room, in preparation for the listing step.
We recommend taking photos room by room and uploading them to each room in FairSplit.
It is important that you or the person who will take the pictures of the assets watch this one minute long video before starting your first inventory: Tips for Photographing and Inventorying a Home.
Contact us if you'd like to hire FairSplit crew to take photos and create your inventory for you.
Taking photos
Be sure to watch our video on taking photos:
- either on https://app.fairsplit.com/
- or on our YouTube channel: www.youtube.com/@DivvyMaster
How big should the photos be?
Pictures saved in low to medium sized files (~100 kB) are fine since they will be viewed online. Larger files are also fine, but can slow down the upload process and take up space on your phone or camera.
Which assets should be grouped in a photo?
In FairSplit, there are four main types of photos:
Primary photos: This is the close-up of the item or group of pieces that will be listed as one asset.
Many pieces are typically grouped and valued together – essentially being considered a single asset. Examples:
- Matching sofa, loveseat and chairs
- Dining table and chairs with buffet
- Bedroom set (including dresser, chest, nightstands and headboards)
- Matching necklace and earrings
Try to group the pieces the way most people would prefer to own them. When in doubt, list items separately.
Secondary photos: These are for additional detail on an item, such as a different angle, a close up of brand, damage, an appraisal of the asset, etc.
Group photo: These show multiple assets to be listed. An example may be a shot in the garage that includes digging tools, several rakes, and two ladders. One may use the same photo to list all of those as separate assets.
Overview photos: Wide view from the doorway to show all items as positioned in that room. These provide a reference photo for family and yourself if needed. Overview photos are not used for listing assets. They are only for the memory of a room.
Photography guidelines to make your life easier
- Remember to take with you when taking the pictures:
- Notebook and pen.
- Letters or numbers to place next to items.
- For scale reference: a tape measure, yard stick, ruler or dollar bill. (If you place a scale reference device next to the object, the AI will see it and estimate its dimensions more accurately.)
- Make sure that all the rooms have lots of light. When photographing anything, the more light the better. If you can keep the light source behind you, even better.
- Taking a single photo of each item to be listed is usually the best practice. This can make it very easy to list assets using our AI tool or manually.
- Take more than one photo of any piece of art or valuable asset -- different angles, close-ups of damage, brand or artist signature, appraisals, etc. These would all be be Secondary Photos, to add relevant detail needed.
- If there are too many low value items, you don't need to take individual pictures of everything.
But always avoid photographing big groups of random assets - instead, make smaller groups with themes that can later be selected as a batch in the division.
- Christmas ornaments can be separated in groups according to style or color.
- Books can be separated by theme – cook books, fantasy books, etc.
- Kitchen utensils can be separated in useful kits – small groups of pots, pans, spoons, knifes, etc.
- Group shots are also fine for inventories where most people are familiar with nearly all assets. Multiple assets that will be listed individually can be associated with a single photo - a good way to save time if details are not needed in the pictures. For example, a single photo of 5 sets of earrings can be easily associated with all five single listings of each earring.
- Small papers with numbers or letters will save time and make it easier to identify the assets when there are many similar pieces together. Examples might be Lladro porcelain statues, watches or jewelry. Tip: Lay a blanket or towel on a bed and put several pieces of jewelry out and take group shots using the letters or numbers to help identify.
- Use the notebook and pen to make notes about each photo, listing what is on it and adding details such as measurements, defects, which room it belonged to, etc. After photographing each asset, take a picture of your notes about that asset, so the photos and the notes will appear together on your phone or camera.
- Make the last photo of each room a sheet of general notes (e.g. date and time) or a picture of a solid color. It will help delimit sets of photos in your camera or phone's gallery and make uploading them to FairSplit rooms super easy.
Uploading photos and files
It is useful to know in advance that in FairSplit photos are not shown in the order they are uploaded, but in alphabetical order by filename.
You can upload photos or scans of appraisals and receipts. Any file format is accepted, not just photos. So documentation about expensive assets can easily be added.
We recommend entering each room in FairSplit and uploading the photos that belong in that room, then moving on to other rooms. If you are not dividing your inventory by room, then you can use the central upload page to upload all files and photos.
Below we'll show how to do these things.
How to add photos and files room by room
To use this method (recommended if assets are still in the house), you must have already set up your property and rooms. This was covered in a previous section of this documentation.
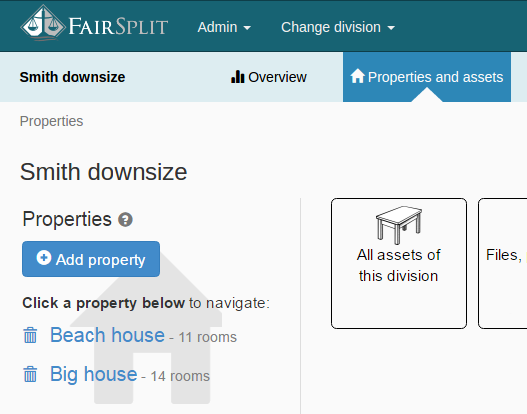
To start adding files, click Properties and assets in the menu:

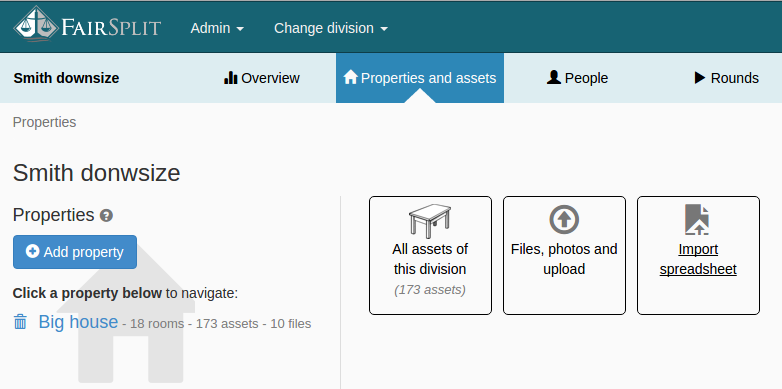
Here we have the two properties previously created. Click the Big house to navigate to that property:
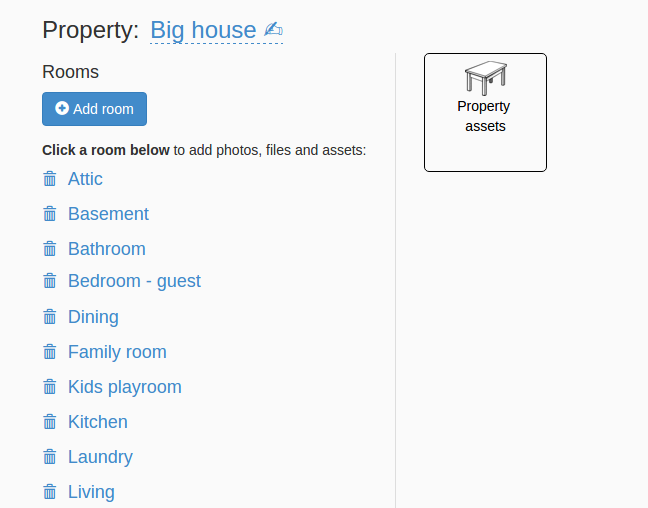
To upload photos of the living room, select Living:
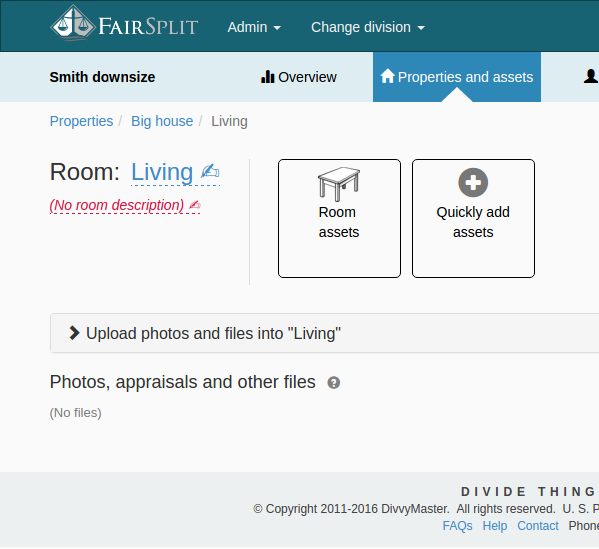
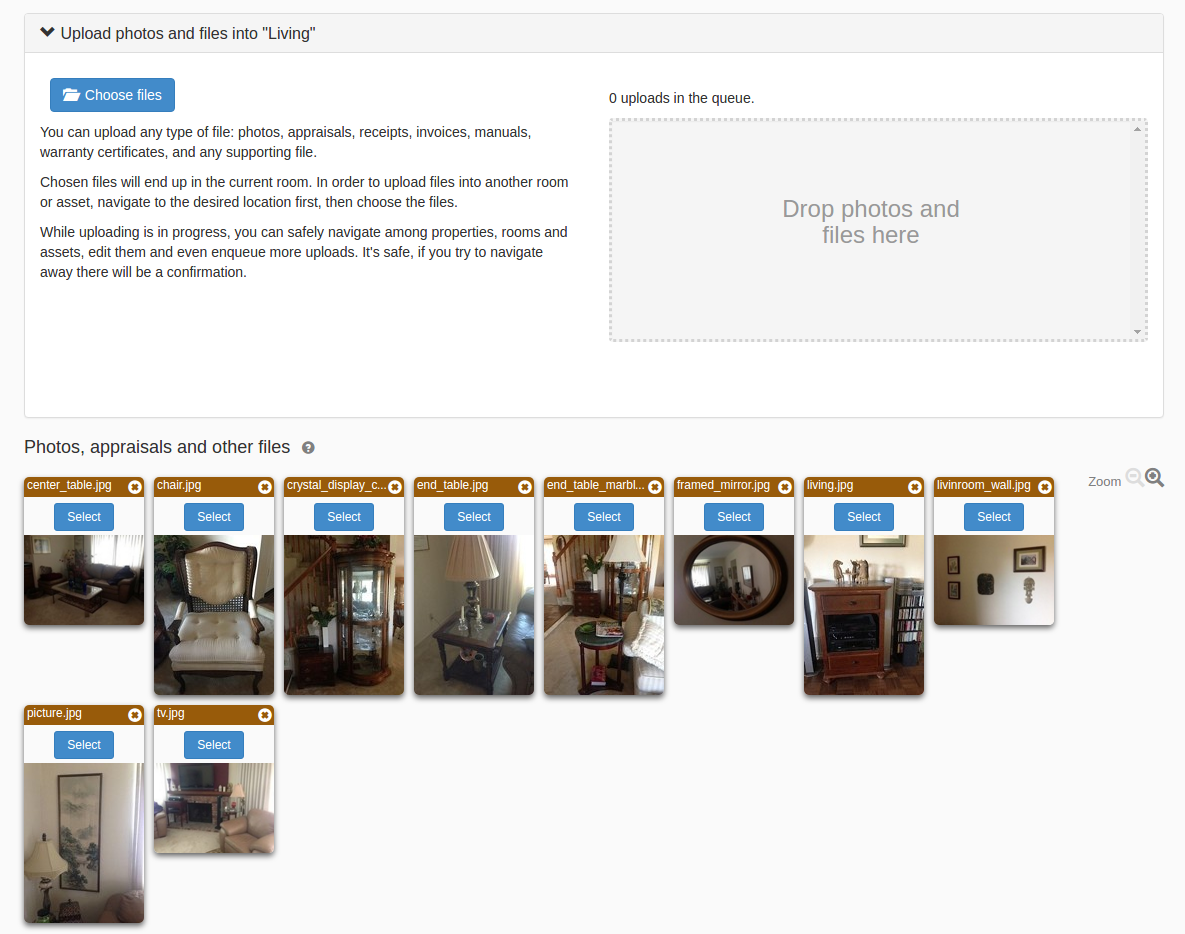
Below we can see the living room page. Click on Upload photos and files into "Living":
As with the previous method of uploading all photos, you can either drag and drop photos of the living room or click on the Choose files button:
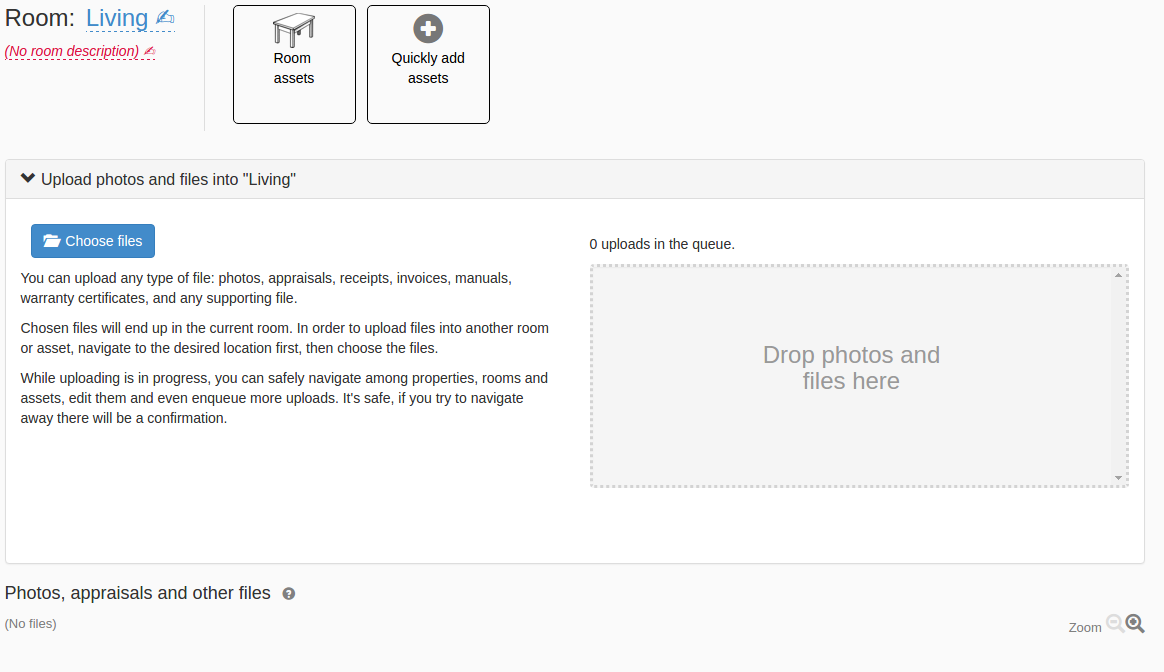
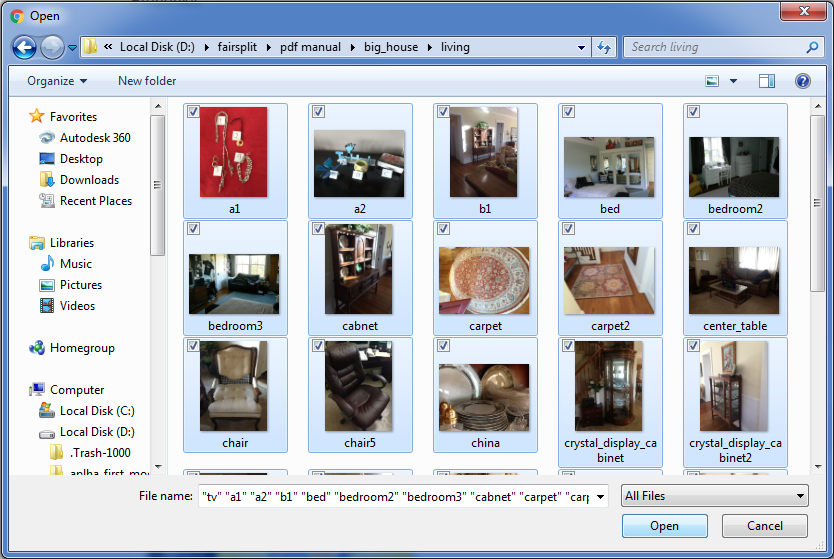
Here we will use the “Choose files” method. Click on Choose files, find the files on your computer and select all desired photos or files (e.g. Appraisals) and click the Open button to start uploading all selected photos:
The uploaded photos and files go into the section Photos, appraisals and other files:
Repeat the process with the other rooms. You do not need to wait for one group to complete uploading before starting the next.
How to upload all photos and files (not by room)
If you are not separating your inventory by rooms, just use the central upload page to upload all files and photos of the division or inventory.
Go to the central upload page by clicking Properties and assets in the menu:
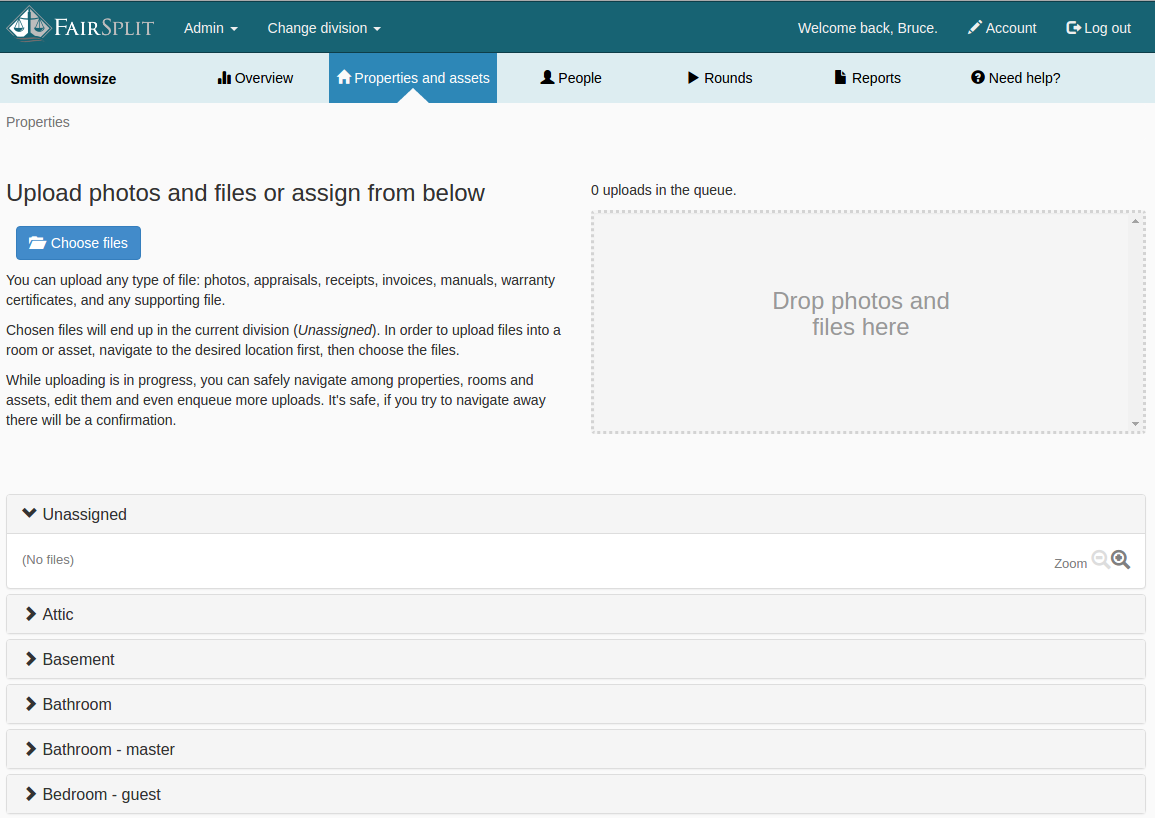
Then click the button Files, photos and upload:
Here you can either...
- click the Choose files button, or
- drag and drop files to the dashed box on the right of your screen:
Before explaining how to upload photos or files (e.g. Appraisals), a few notes about the bottom half of this page. This consists of accordion panels where the files go after the upload.
-
All files initially go to the
 panel.
From here, they can be assigned to a room. -
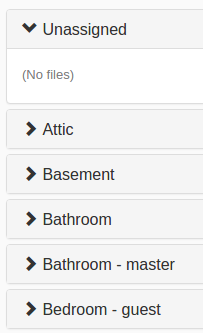
If the inventory or division has only one property, the other panels will contain only room names:
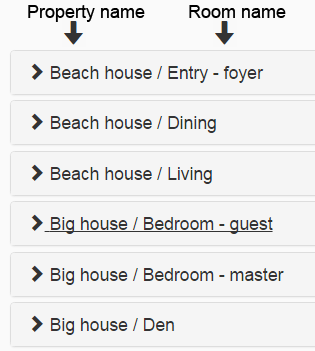
- However, if you have two or more properties, you will see the property name followed by the room name:
To upload photos using the "Choose files" option, click on the Choose files button. Go to the folder on your computer where the files are saved and select the desired files and photos. Then click, Open:
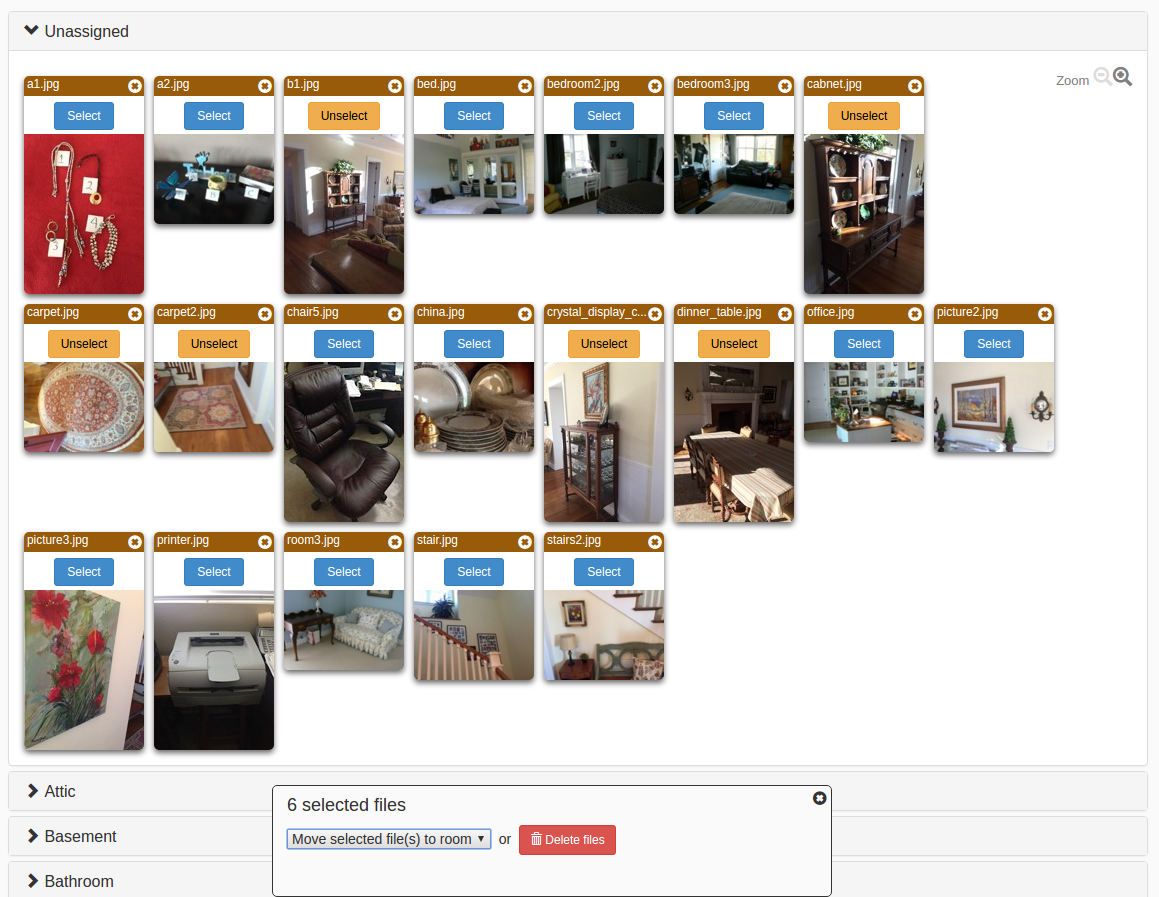
When each file is uploaded, it will go to the Unassigned panel:
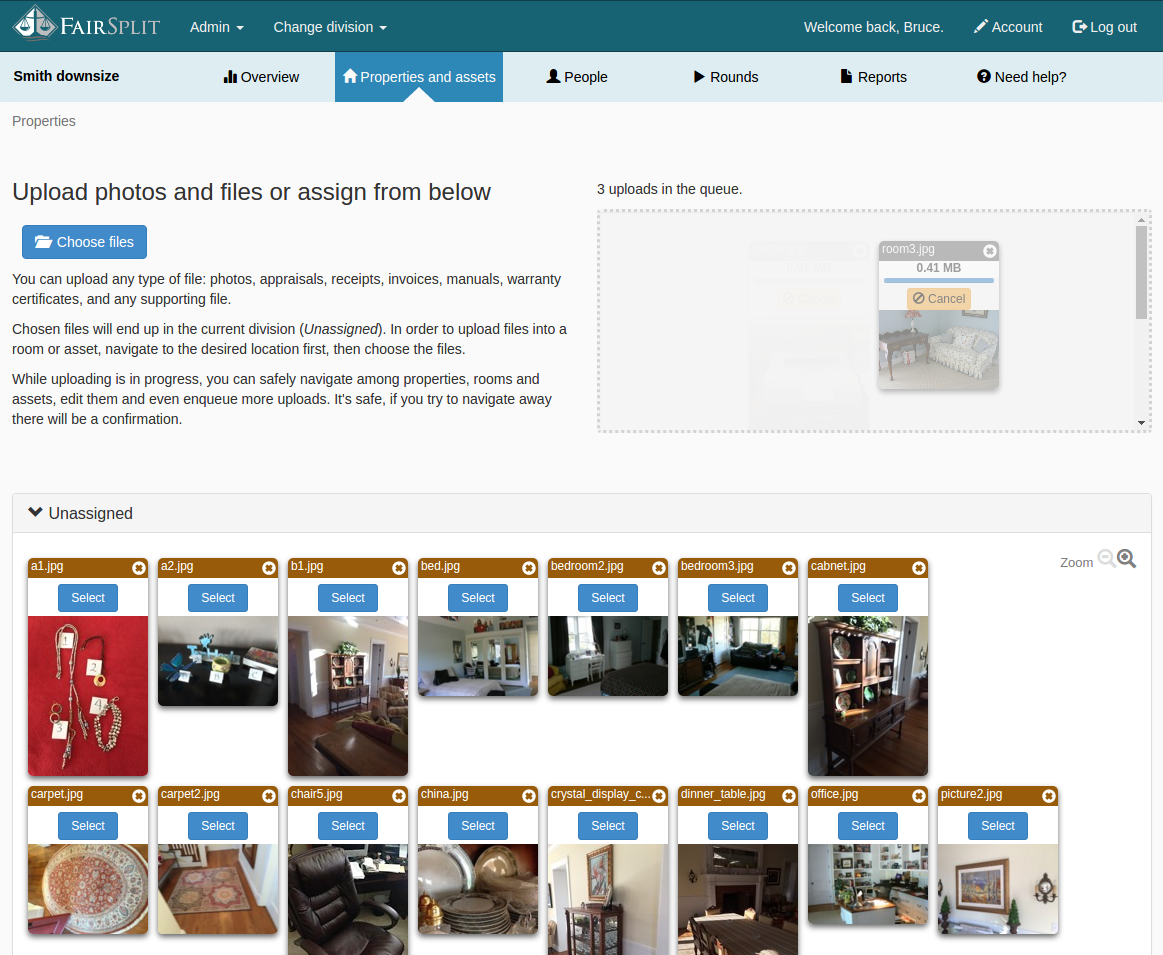
After all the files are uploaded, you can move the files from the Unassigned panel to the rooms they belong.
How to move photos to a room
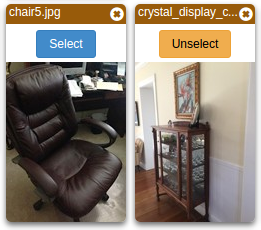
Each photo and file has a Select button. Click on it to select the file. When you click on the Select button, it becomes Unselect.
To quickly assign photos to a particular room, select all the photos that correspond to that room:
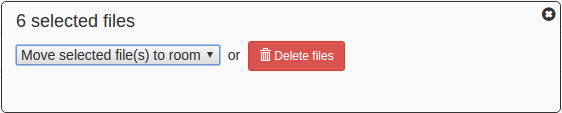
When at least one photo is selected, a floating box appears at the bottom of the screen. It displays the selected file count and two controls for moving or deleting:
To move the files click on Move selected files(s) to room and then select one of the rooms:
After moving the files, they will appear in the target room:
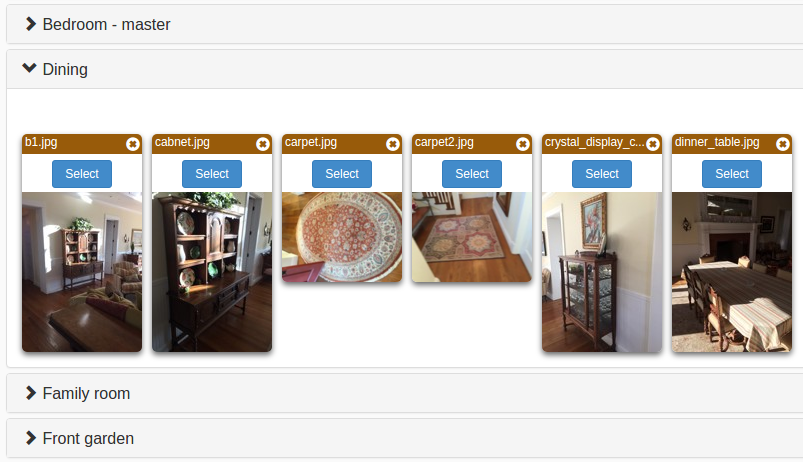
Repeat this process with the other images until all images are in their corresponding room.