Using the grid
How to edit, filter and sort the grid
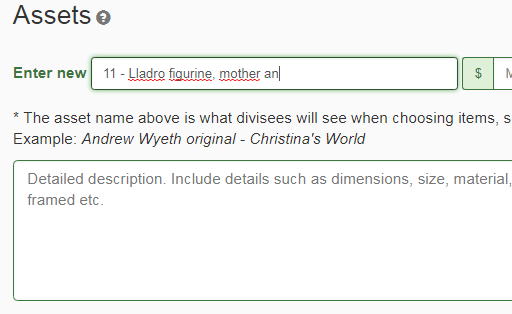
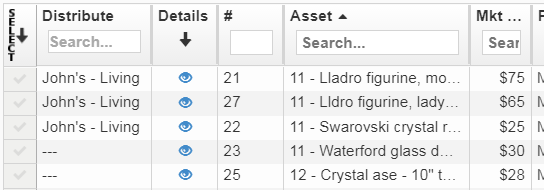
A creative use of the grid, to show packing, is to add box numbers to the start of the asset name, e.g. 01, 02, or 11, 12, etc. (You need the leading zero to sort correctly.)
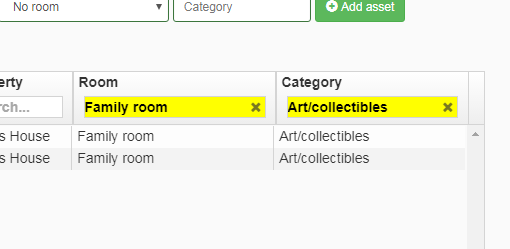
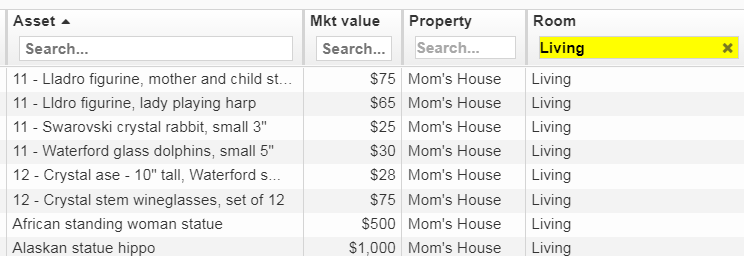
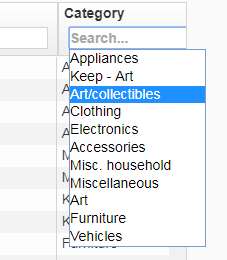
Click on any column “Search” areas to filter by that category, room, etc.:
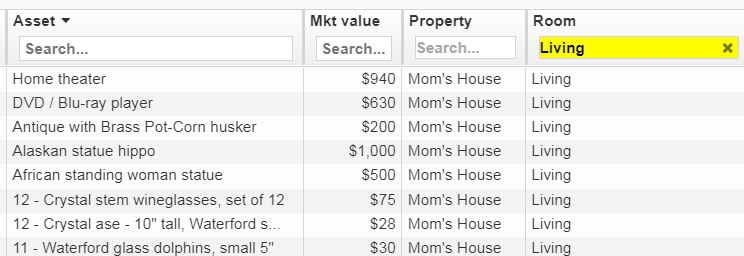
Sort by box number by clicking on the asset column header. Items prefixed with a box number show first, in order.
Default dispositions
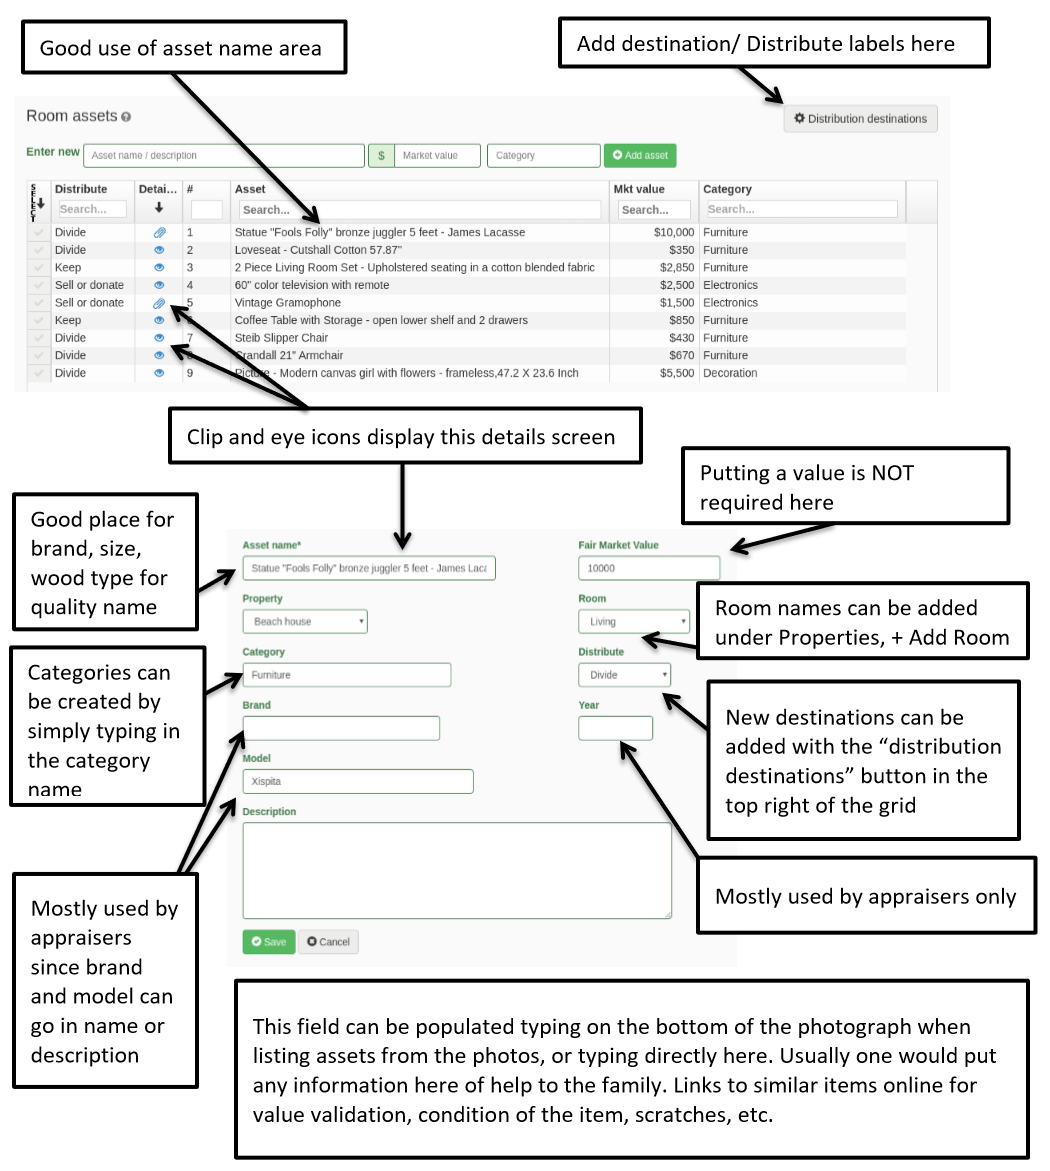
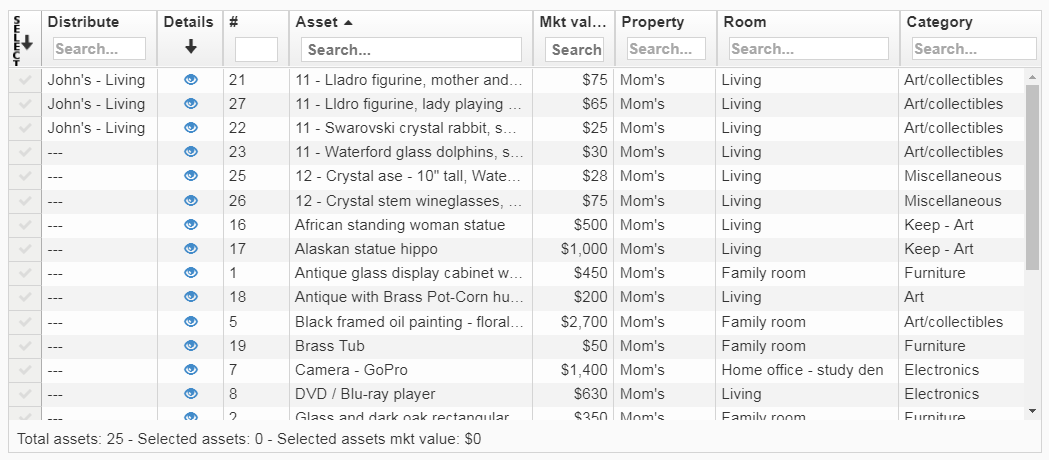
The "Distribute" column, on the left, is where you indicate what is to be done with each asset. To do so, simply click the cell in the "Distribute" column and choose one of the dispositions from the drop-down.
Every inventory has these default disposition choices:
- ---: Every asset begins with the disposition unset. It means no disposition has been chosen yet.
- Divide: Make available to division rounds for selection by divisees.
- Stays: means stay with the house, e.g. if the thing is to be sold with the house.
- Keep: In downsizing, "keep" normally means "take it with me", to the new home.
- Sell: Offer through an estate sale consignment store or online sales channel.
- Donate: Dispose of an asset to people or organizations who need it.
- Sell or donate: Means not sure yet (undecided). Usually later this becomes either "Sell" or "Donate".
When an administrator is selecting assets for a new division round, the assets shown are the ones in "Divide" or unset ("---").
How to add dispositions
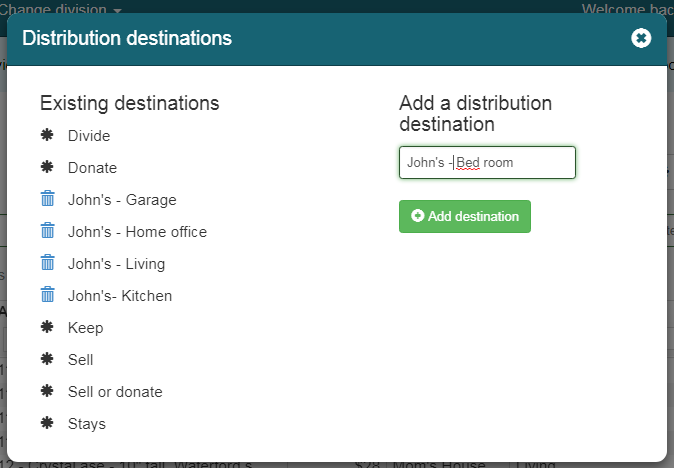
In addition to the default dispositions above, you can add your own.
To add dispositions click on 
Type a new disposition and click the green Add destination button.
How to assign a disposition to multiple assets
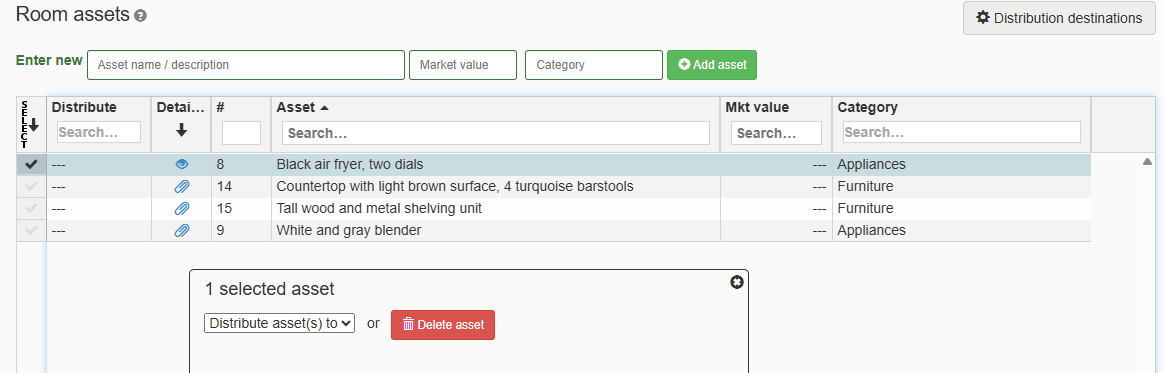
Select the assets you want to mark for a destination by clicking on the select column. That's the leftmost column on the grid:
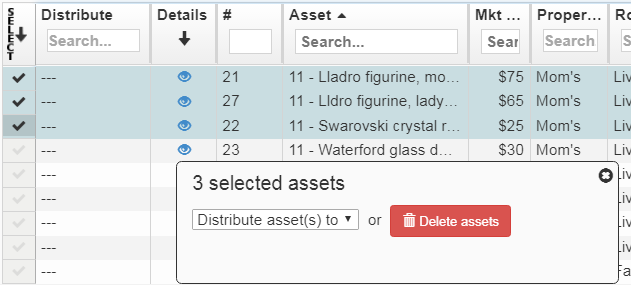
Click the Distribute assets(s) to dropdown and select the disposition:
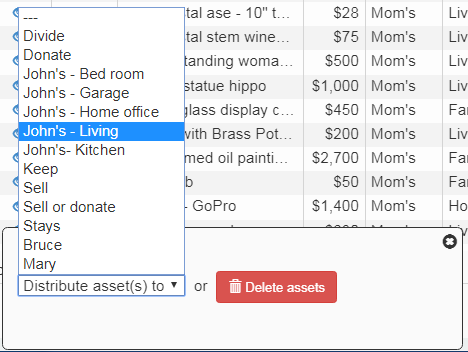
The “Distribute” column will show the selected disposition:
How to remove a photo from an asset
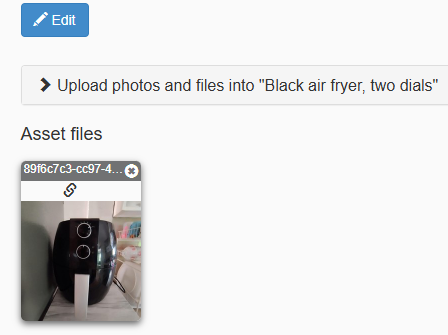
To delete a photo from an asset, click the blue paperclip icon on the "Details" column of the grid:
![]()
Each photo has a file name at the top and an X to remove it at the upper right corner:
When you press the X, a confirmation popup appears:

Press OK to delete the file.
But a photo is only permanently deleted when it has no remaining associations.
A photo can be associated with multiple parts of your inventory, such as:
- different assets e.g., items shown together in a single photo
- a room, for instance, an overview photo
When a photo is associated with multiple things, only the last severed association actually deletes the photo.
Suppose your photo is linked to a room and two assets:
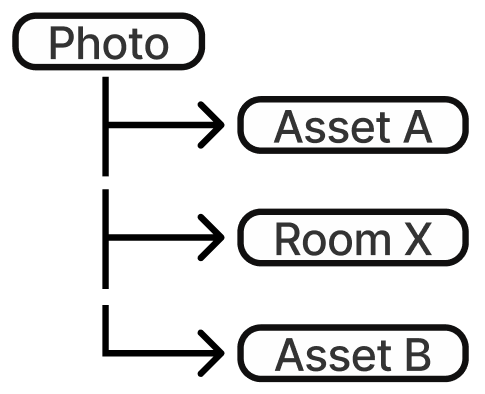
You'd need 3 deletion steps:
- After removing from Asset A --> photo still exists in Room X and Asset B
- After removing from Asset B --> photo still exists in Room X
- After removing from Room X --> photo is now deleted
How to delete an asset
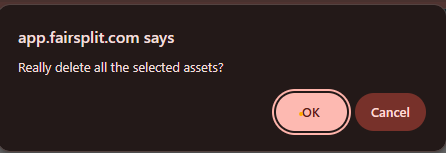
If you are on the grid and wish to delete one or more assets, select them by clicking on the leftmost column. When assets are selected, a popover appears near the bottom of the screen. In the popover, press the red Delete assets button:
A confirmation to delete the selected asset will appear. Press OK
How to print reports from the grid
Although FairSplit has a powerful, separate Reports page, you can also print reports based on the grid's current configuration of filters and ordering.
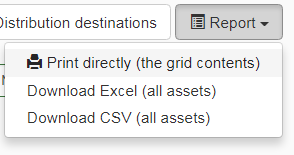
To print a report from a grid, click the “Report” menu and select Print directly:
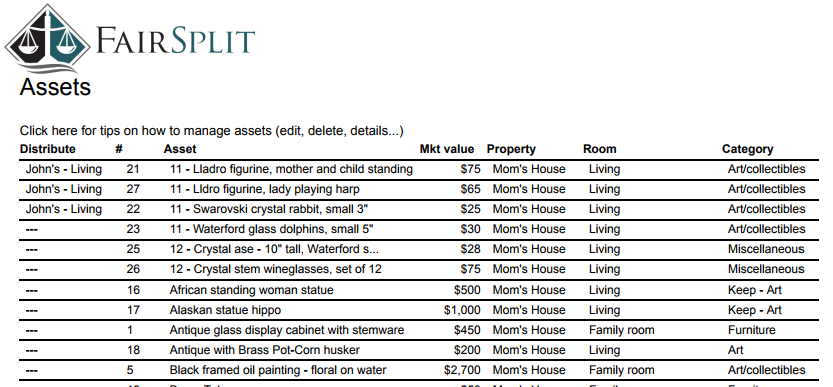
The report will show all assets:
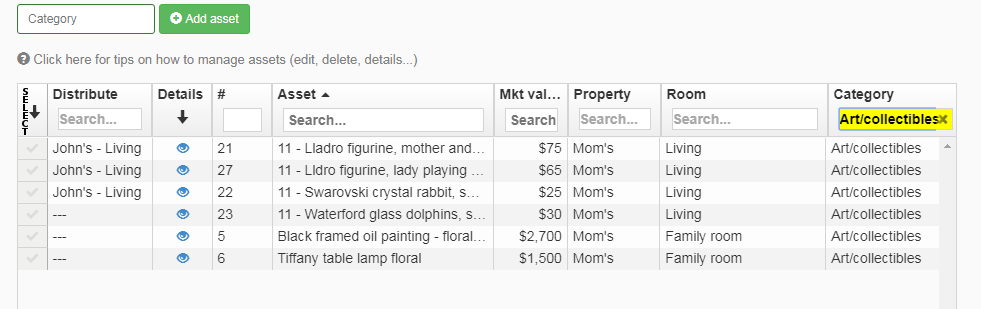
Filter assets by room, category, or other criteria by clicking the Search field in the respective column:
The grid will display only the assets you specified:
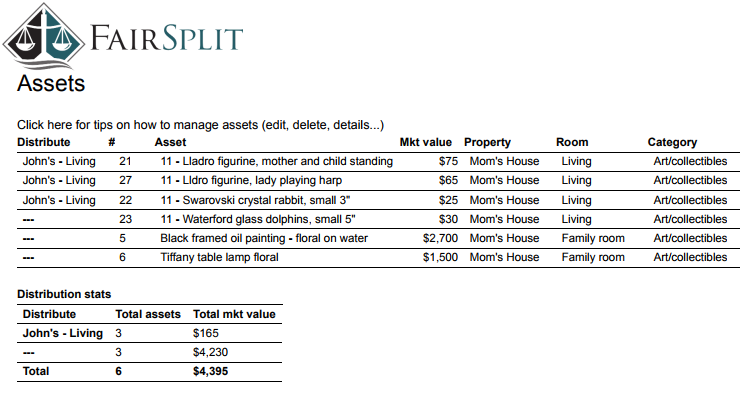
If you want to print a report only with these assets, again click on Report, then Print directly, and the report will contain the same rows as the grid:
You can select multiple filters at the same time: