Setting up properties and rooms
There are several ways to set up an inventory or division. All start with a property that contains rooms. Rooms contain assets. Photos can be connected to rooms and to assets. Assets can also be in categories. If working from a storage building or single large room, simply label properties and rooms in the best way that works for you.
To populate the FairSplit inventory, there's an option to using FairSplit itself. If you already have an inventory spreadsheet, you can convert and upload it and not lose your earlier work.
Properties and rooms
Once the Administrator has been assigned and logs in, FairSplit will automatically create a property titled, “Property 1”. We suggest you rename/edit it to something more descriptive. In the following example we will rename it, “Big house”.
How to rename a property
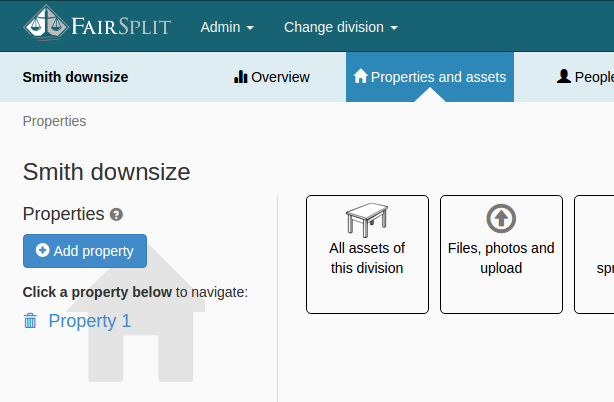
Click Properties and assets on the menu to go to the Properties page: 
Here we can see all the properties contained in this "Smith downsize" example division.
Click Property 1 to enter it:
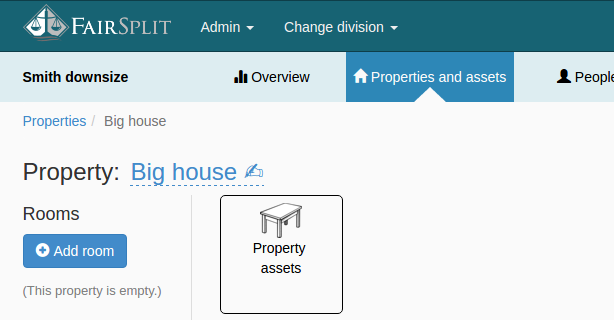
On the individual property page, the name "Property 1" is editable. You know this because it is blue, underlined with dotted lines, and followed by a writing hand icon: 
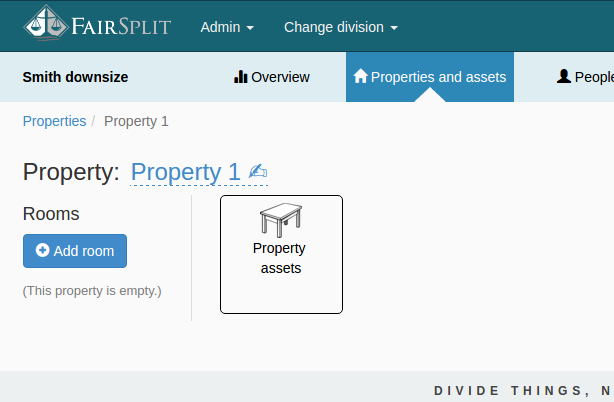
Click the current property name (“Property 1”) to start editing it:
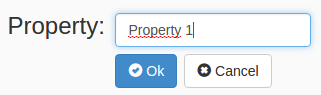
Replace the name – in our example “Big house” – and click the OK button.
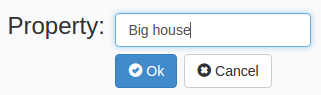
The property is renamed. Our next step is to add rooms to it. (This assumes the assets are still in place in the Property; if the assets are in storage you may wish to create room names that help organize in other ways, possibly naming rooms categories as a way to separate in logical ways.)
How to add rooms
To add rooms, from the property page, click the Add room button:
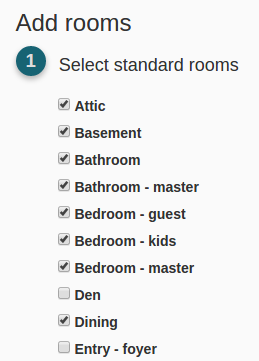
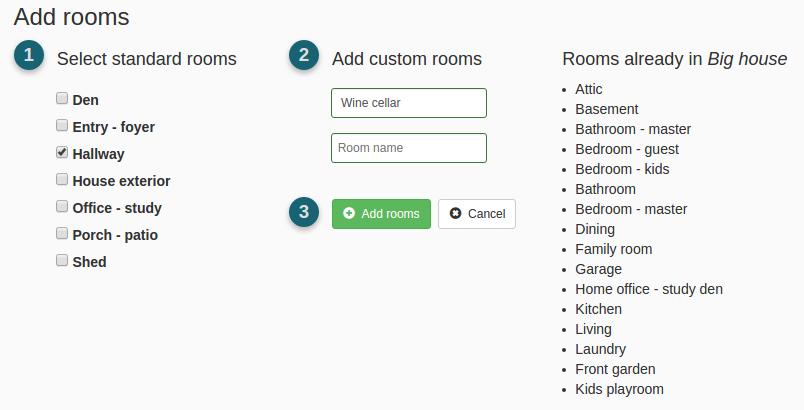
A page is displayed with three columns. The left column contains pre-named rooms; the middle column has a field to add a custom room name; and the right column shows the rooms already existing in the property (this might be empty).
In the first column, select the rooms to be included in inventory. If desired, you can edit these names later. For example, “Bedroom - kids” can be renamed, “Joey’s room”.
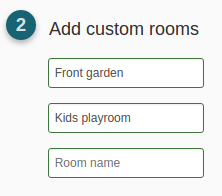
If there are rooms on the property that are not listed in the standard rooms, you can click Add custom rooms in the second column. Whenever you add a custom room, a new field shows up below it, in case you want to add another.
(It is not recommended to add categories as rooms. There is already a category column, so it would duplicate existing sorting options, making it more confusing to all. One can create new categories as well.)
Finally click the Add rooms button and all the rooms will be added to your property:

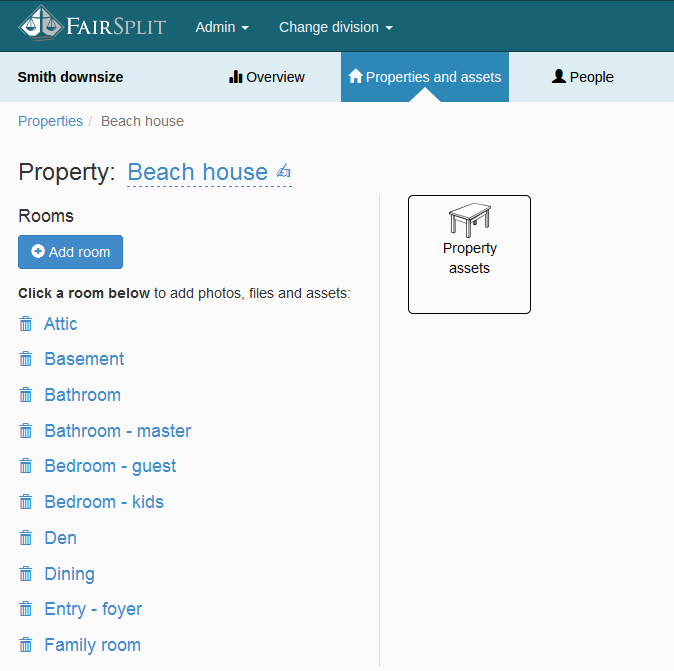
The "Big House" property page is shown, with all the rooms that were added:
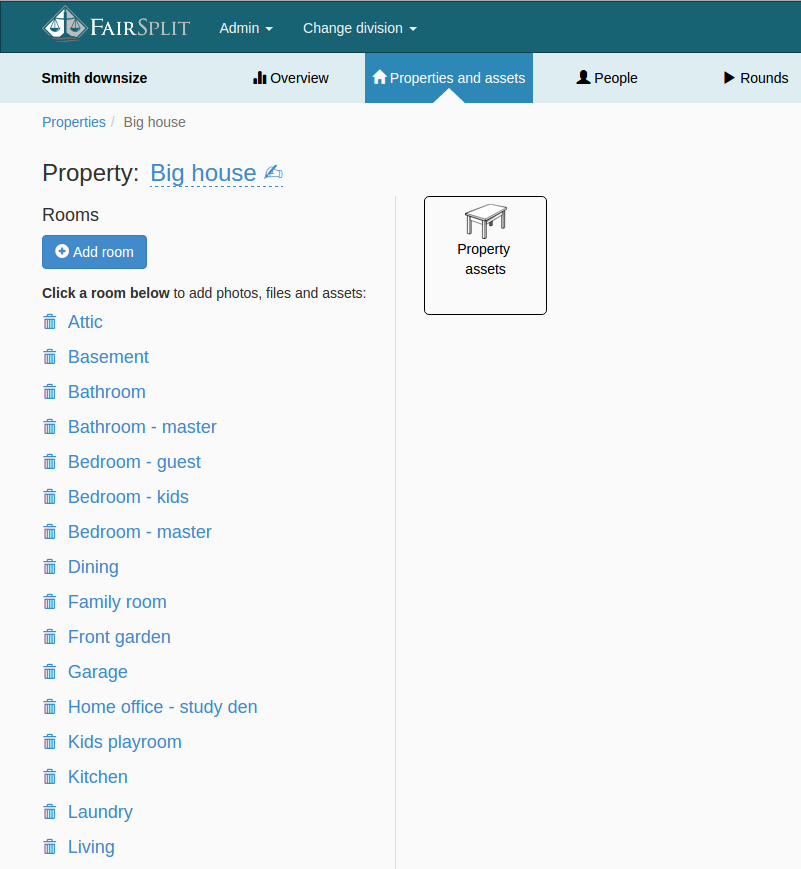
If you have forgotten a room, add it at any time by clicking the button Add room. The rooms already in the property will show up on the right column and the left columns will be smaller than before. Check the forgotten room or type its name and click in the Add rooms button like before.
How to add a property
If you have more than one property associated with the inventory, and you purchased a multi-property plan, you can easily add it. Contact FairSplit if you need to upgrade your purchase.
Click Properties and assets on the menu to go to the Properties page:
You can see the property you set up before, i.e. “Smith downsize”. Click the Add property button:

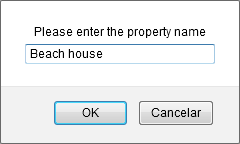
A pop-up window appears, asking you to enter a property name. The appearance of this pop-up can vary depending on your browser. Just type the name of the new property and click OK:
You will be redirected to the same page for adding rooms you saw in the previous section.
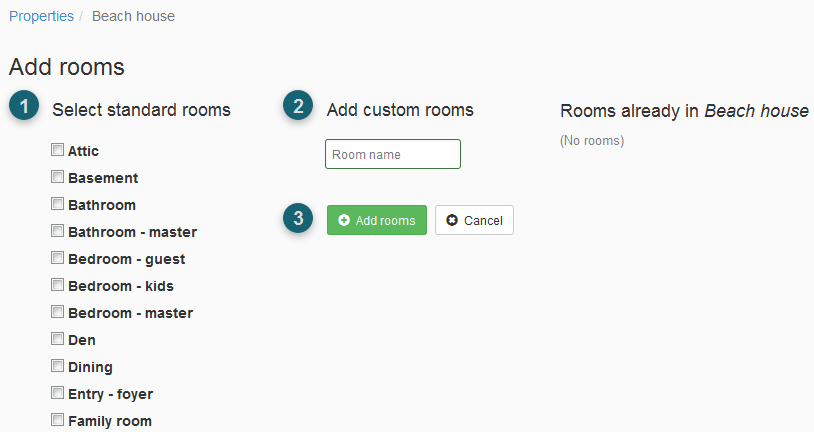
Just follow the same steps, select the rooms you want in the left column or type the names in the middle column and then click the Add rooms button. The new property will be created with its rooms.
The next step is to upload the photos, notes on each room, and any other files (like appraisals) for each room. These photos and files can be associated with one or more assets afterwards or simply kept available in that room. When a photo or document gets associated with an asset, the eye image changes to a paperclip.